Hi all,
Today, let’s go through a step by step on how to deploy Distributed File System (DFS) in Wndows Server 2012 R2, but before we start, you should know what is DFS all about.
What Is DFS?
Normally for domain users, to access a file share, they might use Universal Naming Convention (UNC) name to access the shared folder content.
Many large company have 100 of file servers that are dispersed geographically throughout an organization.
This is very challenging for users who are trying to find and access files efficiently.
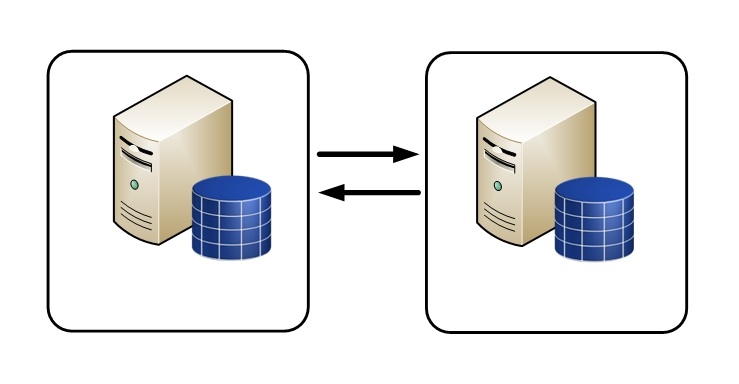
So by using a namespace, DFS can simplify the UNC folder structure. In addition, DFS can replicate the virtual namespace and the shared folders to multiple servers within the organization. This can ensure that the shares are located as close as possible to users, thereby providing an additional benefit of fault tolerance for the network shares.
Orait, that’s a just a bit of DFS introduction, for more information, please do refer to http://technet.microsoft.com/en-us/library/jj127250.aspx
So, enough said, lets get started with our DFS deployment.
** as usual, for this DFS demo, I’m using 3 server 2012 (DC01, SVR01, COMSYS-RODC01) and Window Client (Surface01).
** I will install DFS into SVR01 and COMSYS-RODC01 Server
1 – Always be aware that to deploy DFS you need 2 Servers so that the Folder will replicate each other, so I will install DFS into SVR01 and COMSYS-RODC01 server, you can install DFS simultaneously.
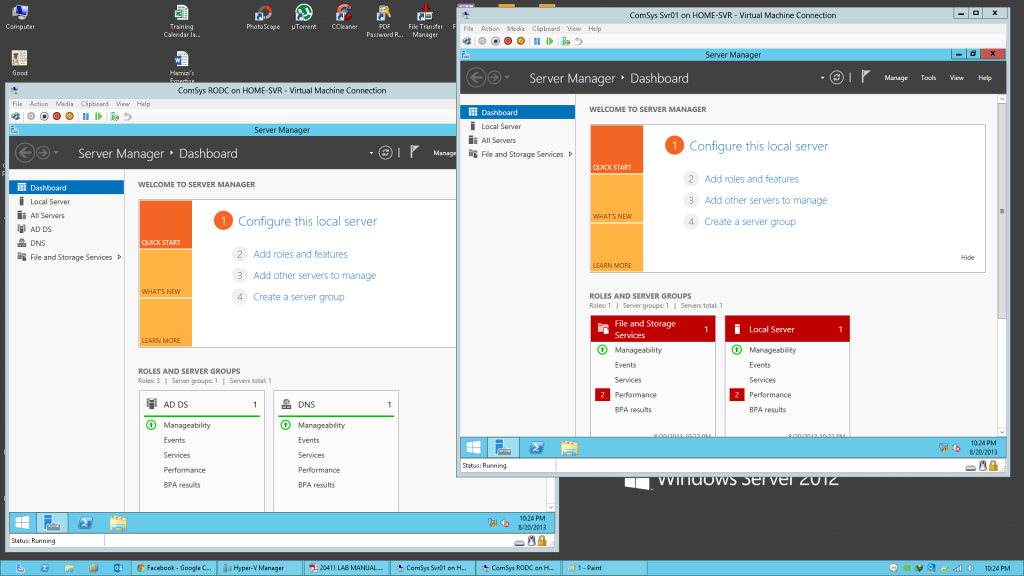
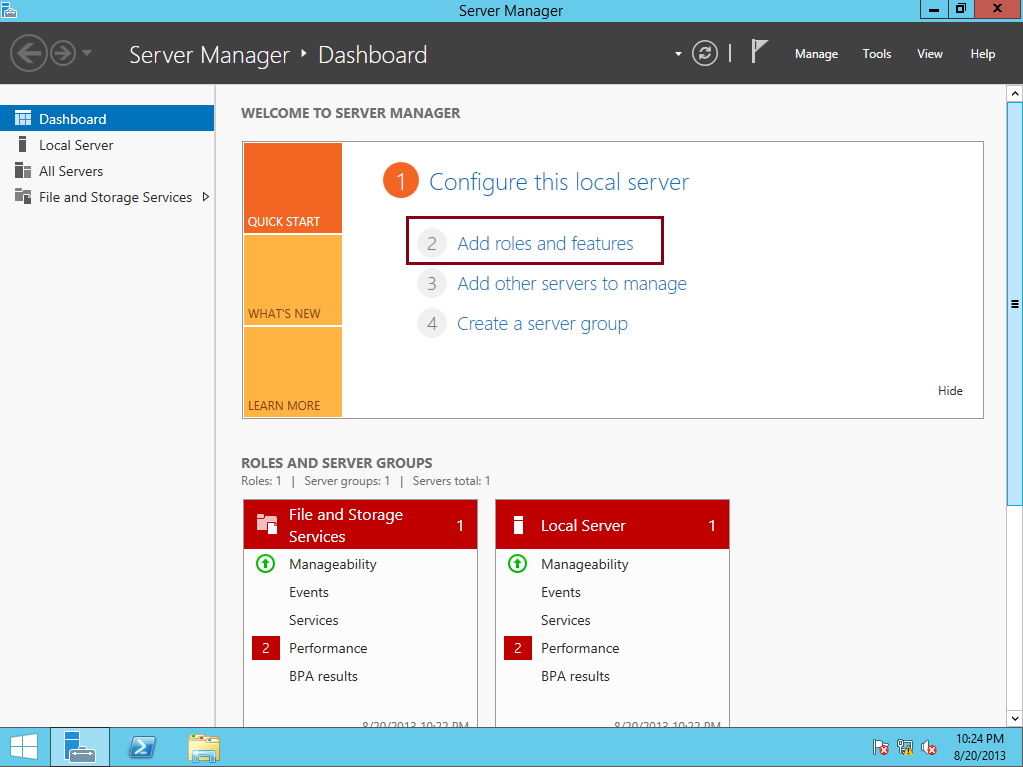
To install DFS in Svr01 server, open Server Manager, on the Dashboard click Add Roles and Features…
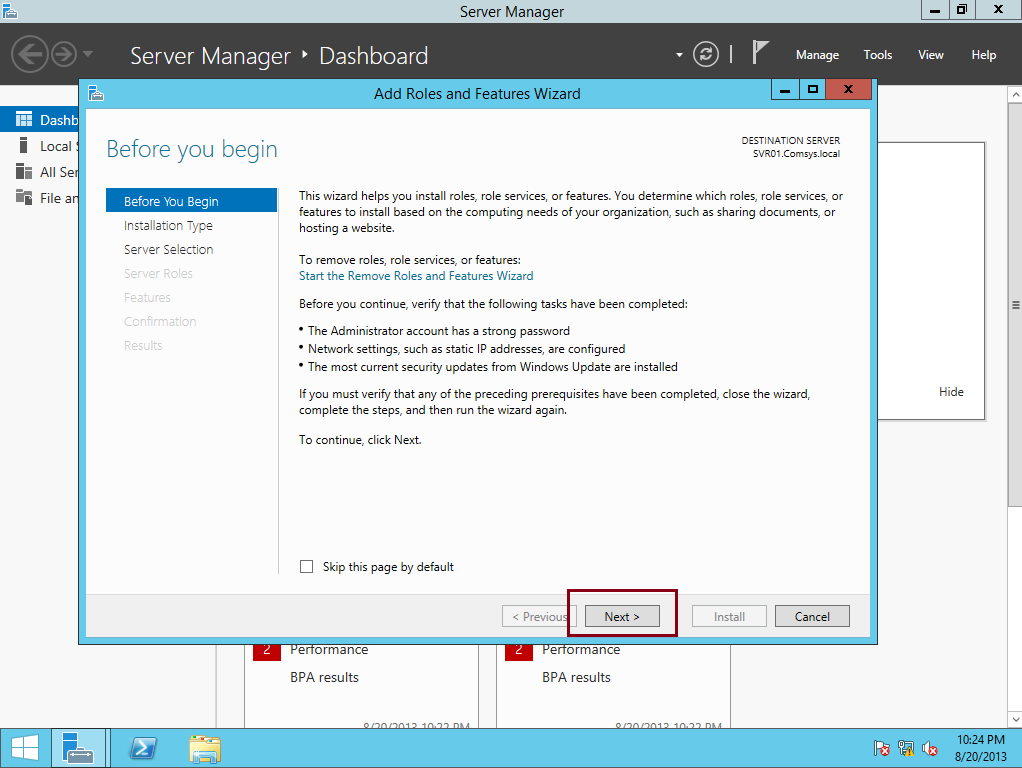
2 – In the Before you begin box, click Next…
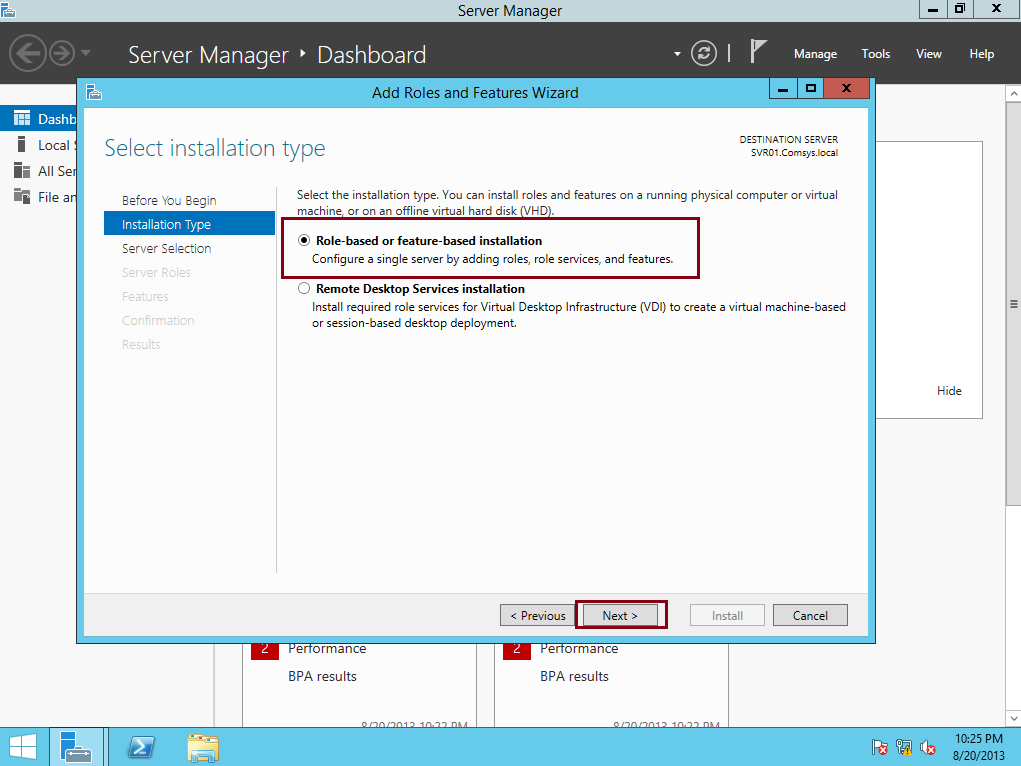
3 – On the Select installation type box, click Next to proceed (make sure Role-based or feature-based installation is selected)…
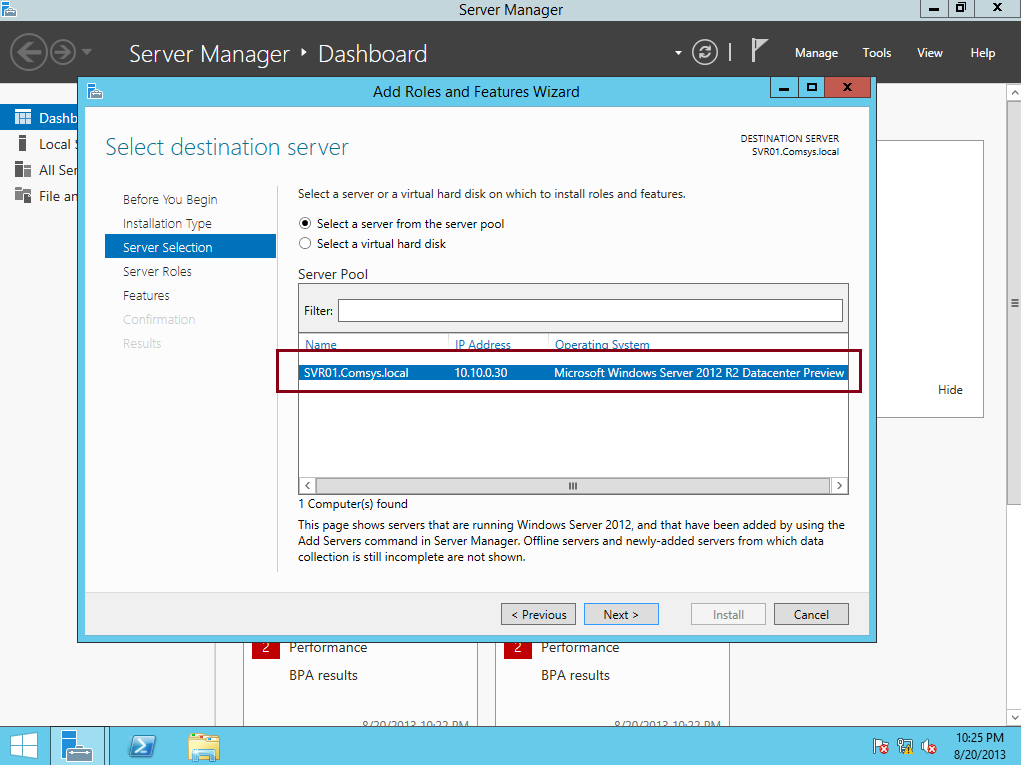
4 – On the Select destination server box, click Next to proceed…
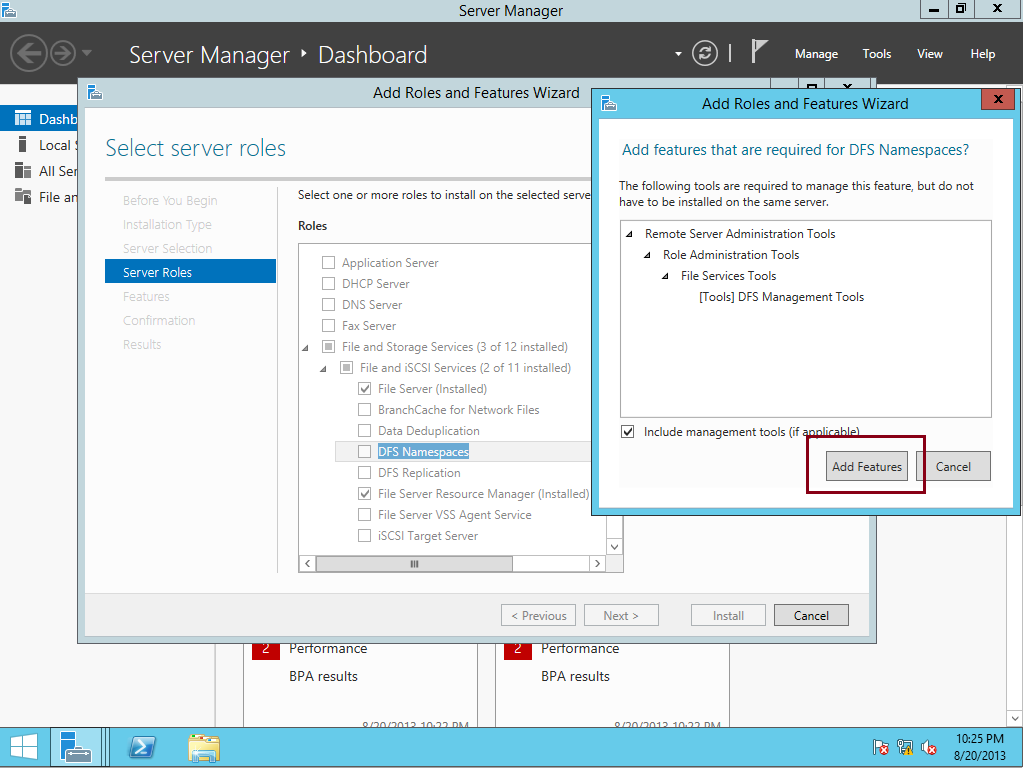
5 – On the Select server roles page, expand File and Storage Services, expand File and iSCSI Services, and then select the DFS Namespaces check box, in the Add Roles and Features pop-up box, click Add Features…
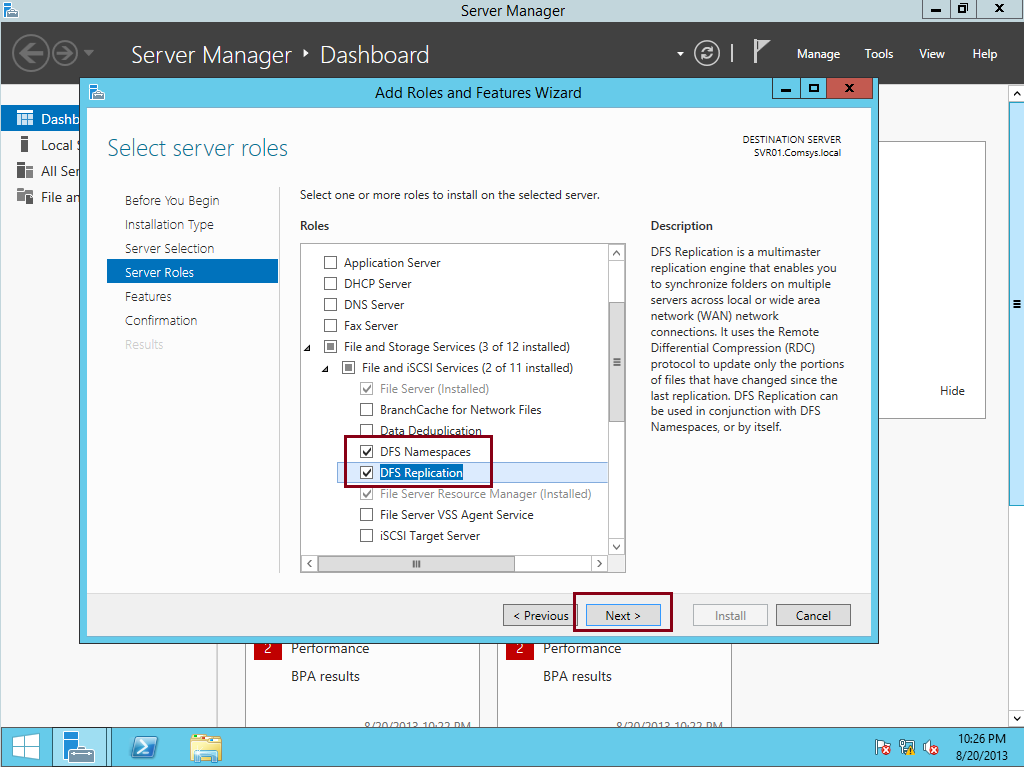
6 – Next, make sure you select the DFS Replication check box, and then only click next to proceed…
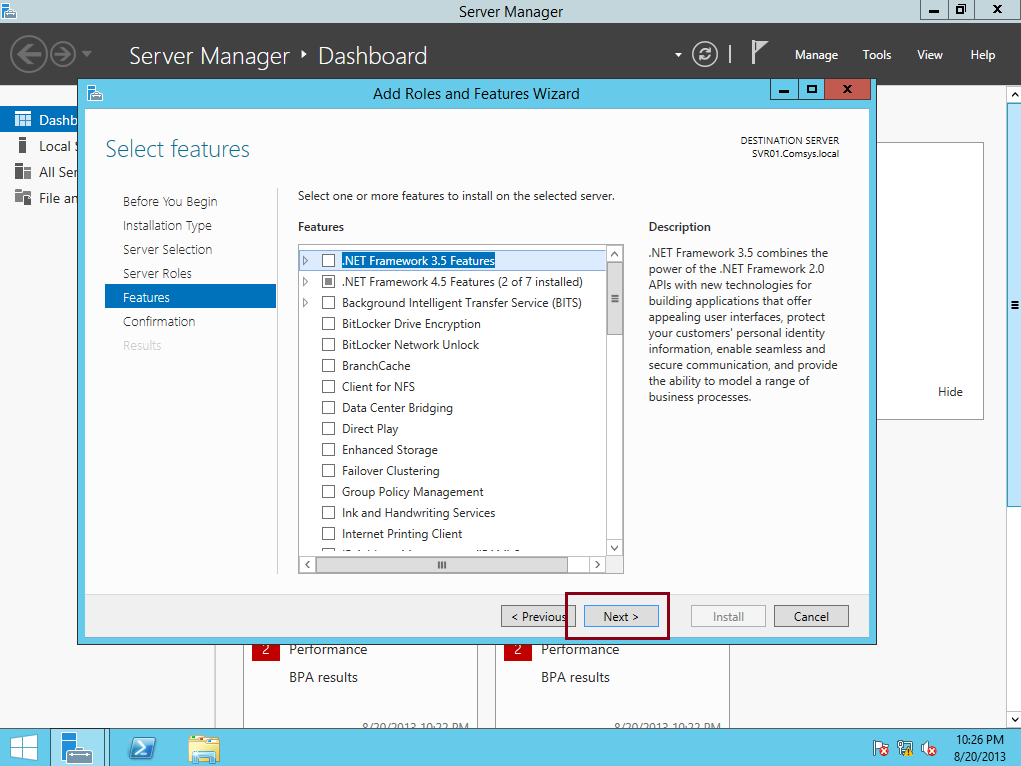
7 – Next, on the Select features box, click Next…
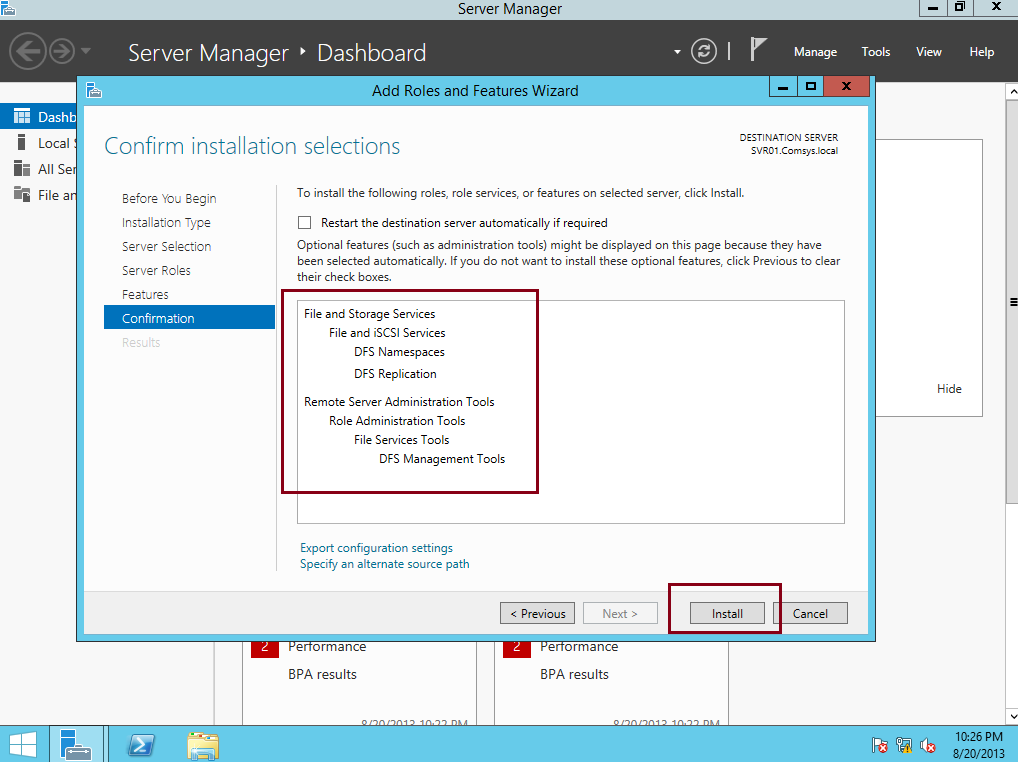
8 – On the Confirm installation selections box, click Install…
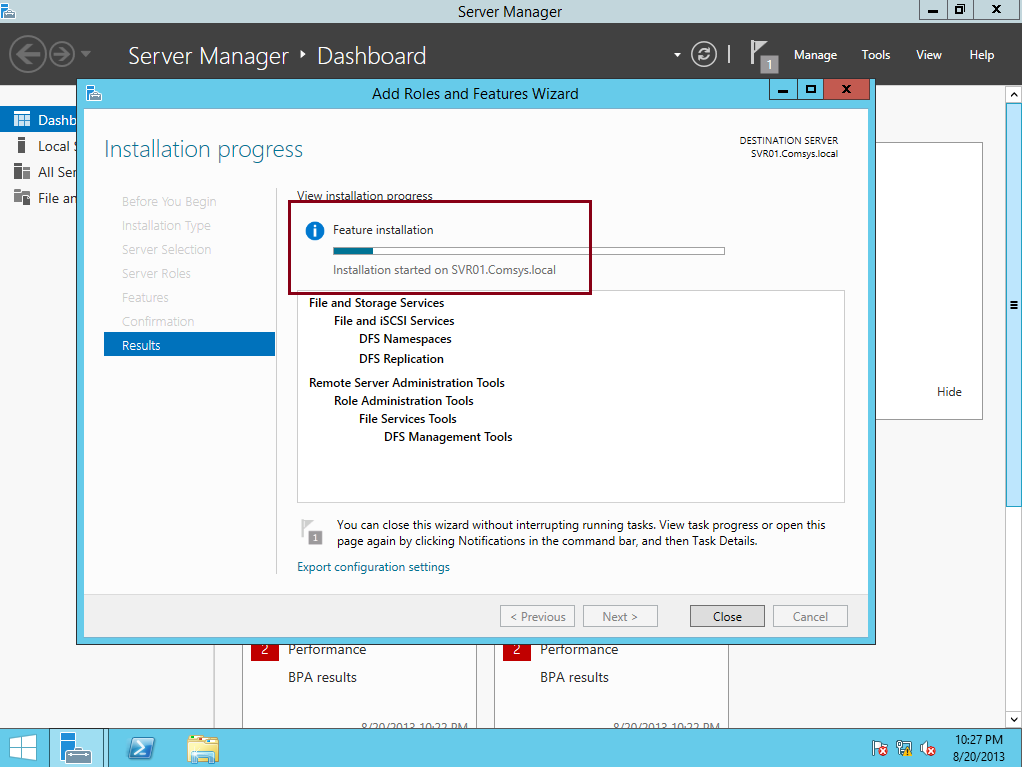
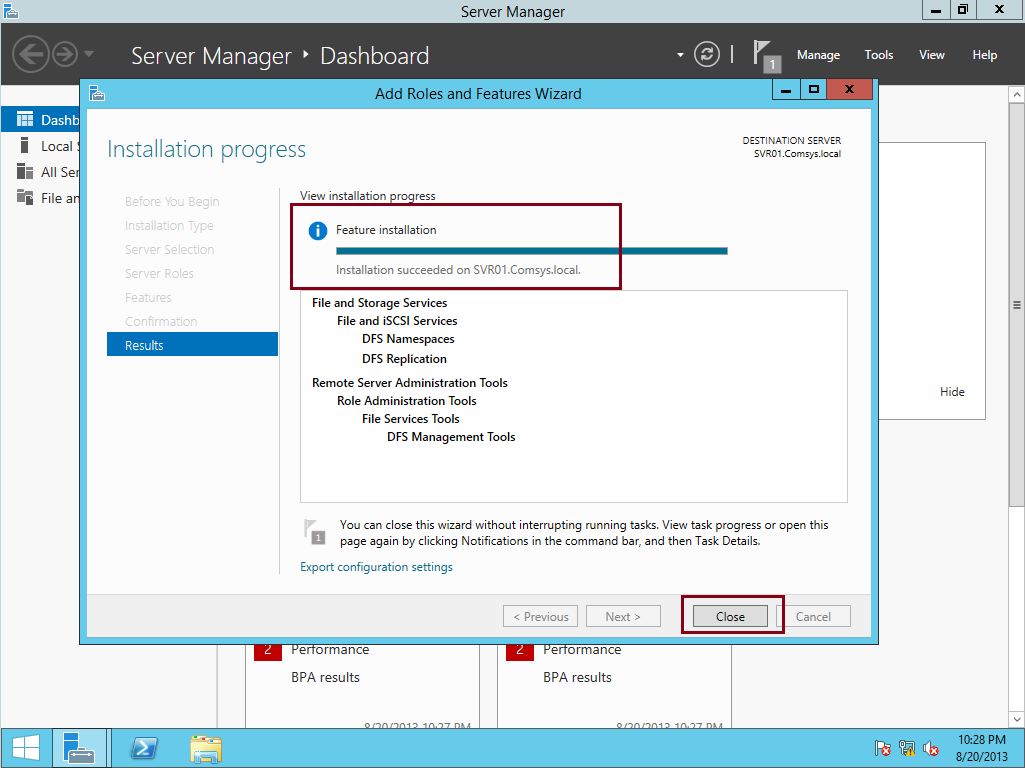
9 – Wait for few minutes for the installation to complete and when the installation completes, click close…
** As I mentioned previously, you need to install DFS in another server also which is in my demo is a COMSYS-RODC01 server…
** Once you confirm both of the Server has been installed with DFS, please proceed with DFS namespace configuration.
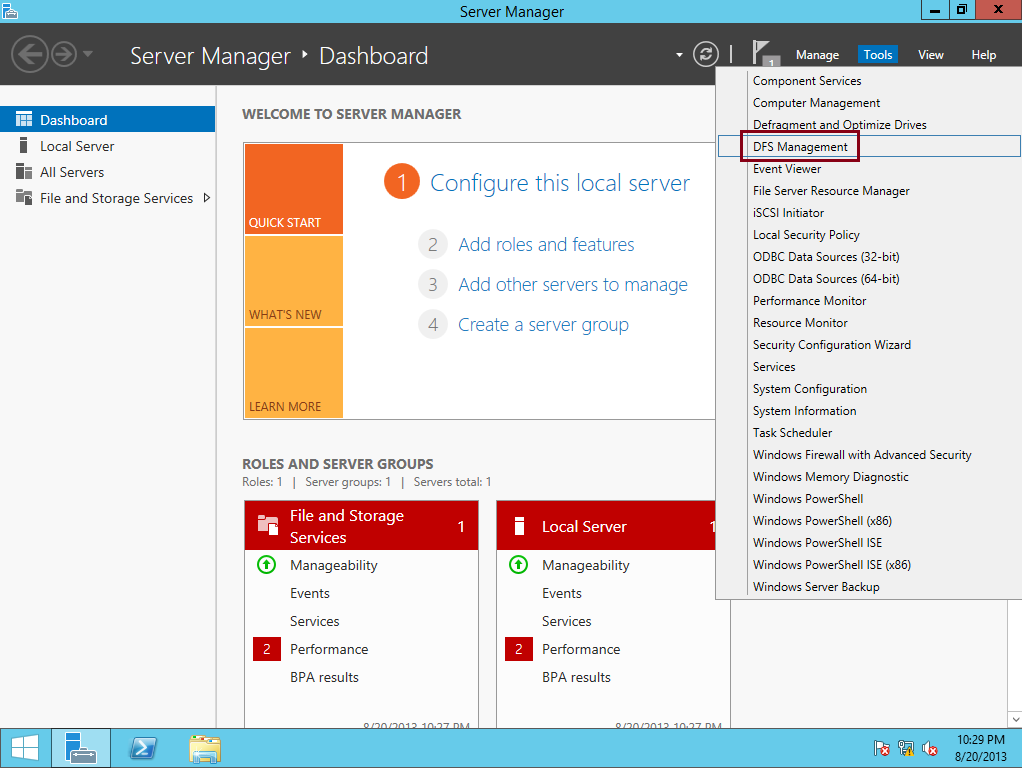
10 – 1st, open DFS Management from Server Manager…
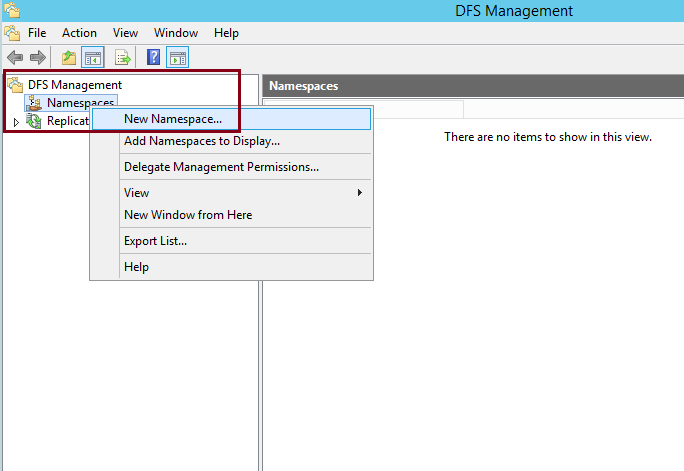
11 – Next, on the DFS console, right-click Namespaces, and then click New Namespace (A namespace is a virtual view of shared folders in your server)…
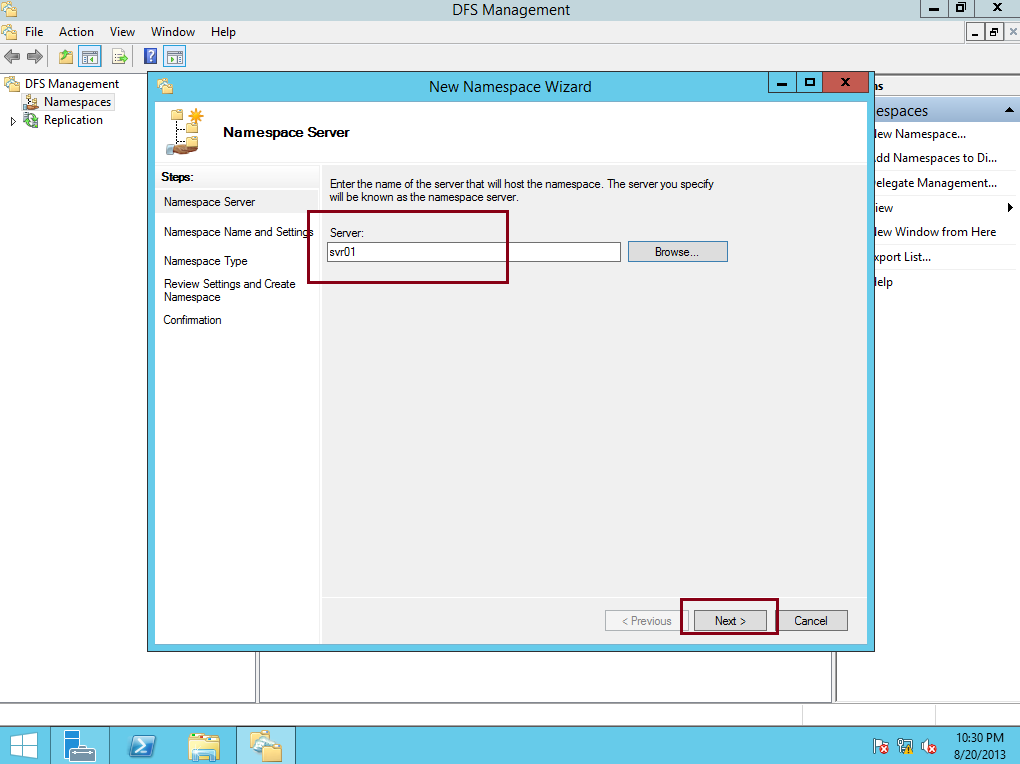
12 – In the New Namespace Wizard, on the Namespace Server page, under Server, type svr01, and then click Next…
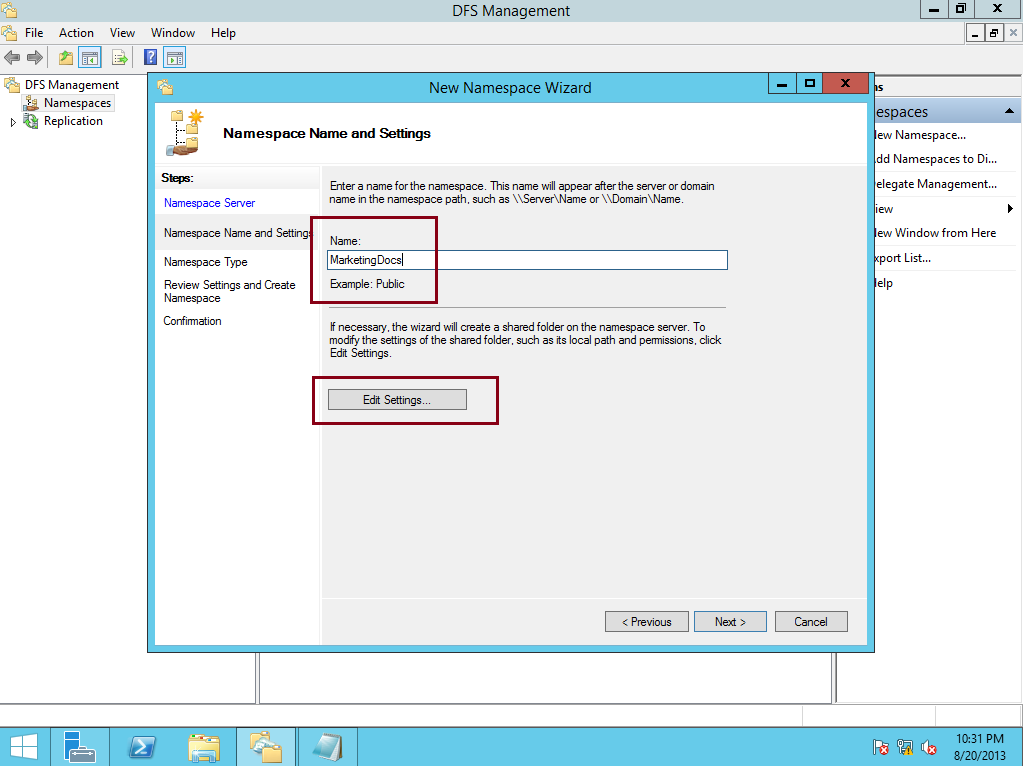
13 – Next, on the Namespace Name and Settings box, under Name, type MarketingDocs, and then click Edit Settings…
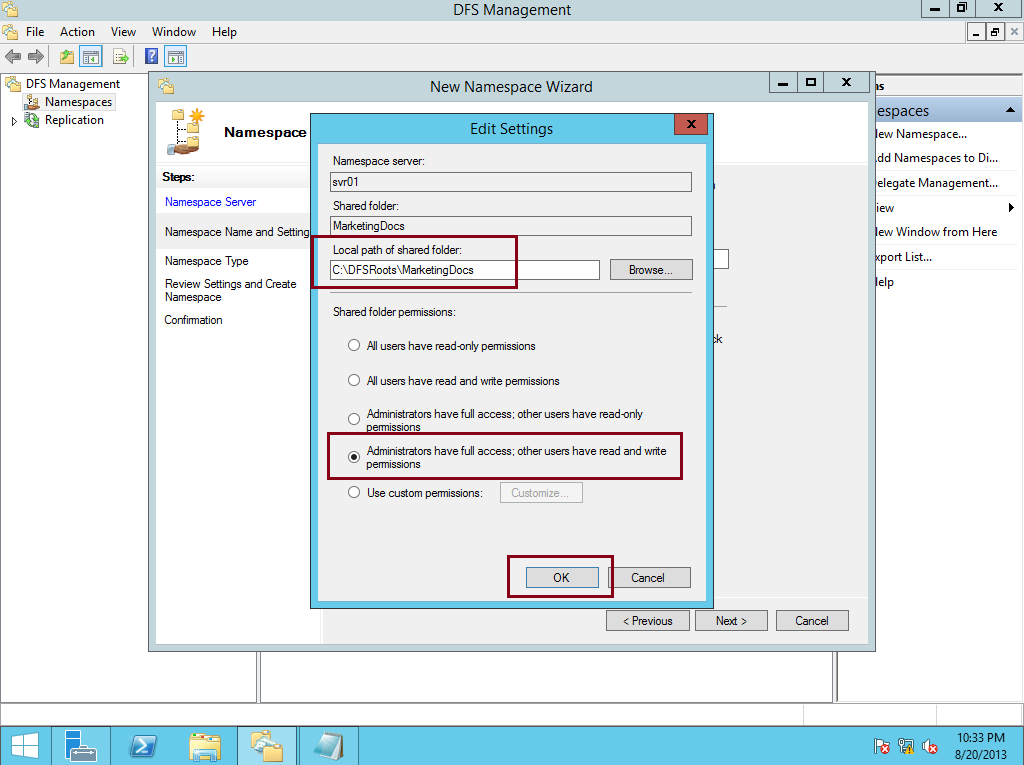
14 – In the Edit Settings box, under Local Path of shared folder: type C:\DFSRoots\MarketingDocs and select Administrator have full access; other users have read and write permissions, then click OK…
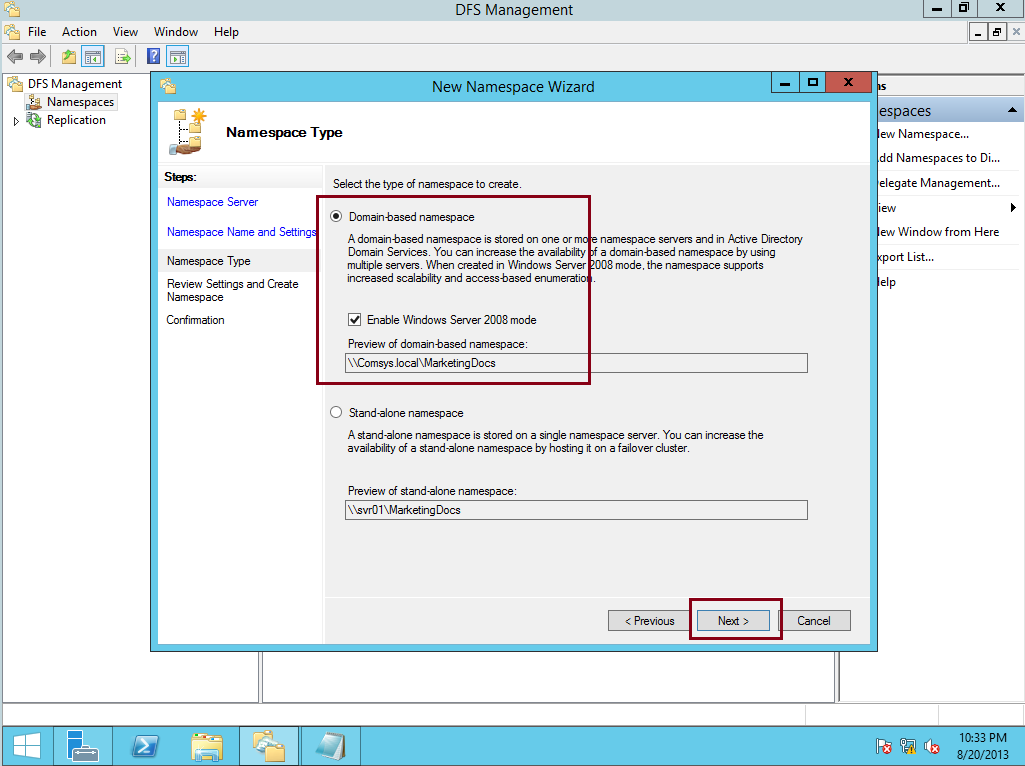
15 – Next, on the Namespace Type box, verify that Domain-based namespace is selected. Take note that the namespace will be accessed by \\comsys.local\MarketingDocs, ensure also that the Enable Windows Server 2008 mode check box is selected, and then click Next…
16 – On the Review Settings and Create Namespace page, click Create…

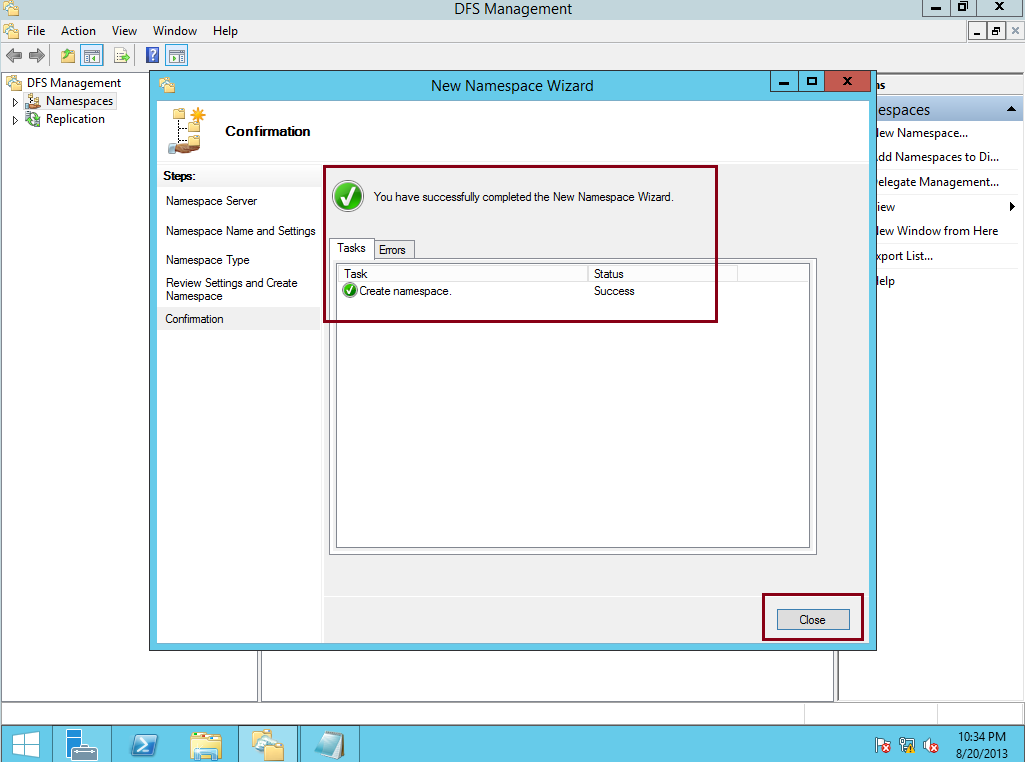
17 – On the Confirmation box, verify that the Create namespace task is successful, and then click Close…
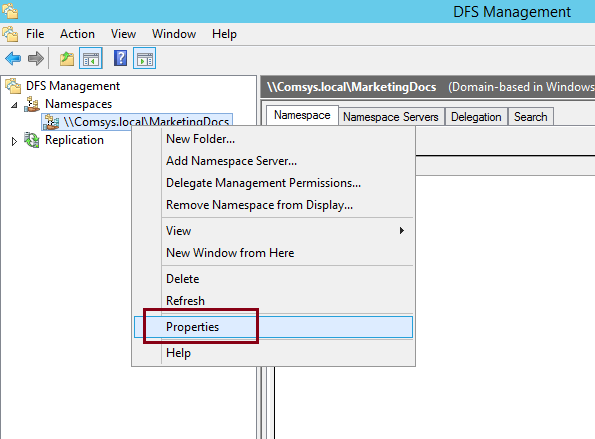
18 – Next, you need to enable access-based enumeration for the MarketingDocs namespace.
To do so, under Namespaces, right-click \\comsys.local\MarketingDocs, and then click Properties…
19 – In the \\comsys.local\MarketingDocs Properties box, click the Advanced tab, then select the Enable access-based enumeration for this namespace check box, and then click OK…

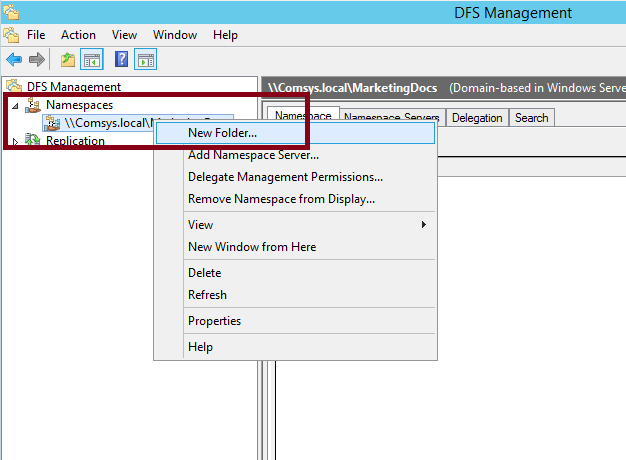
20 – Next, let’s add the Brochures folder to the MarketingDocs namespace…
To do that, right-click \\comsys.local\MarketingDocs , and then click New Folder…
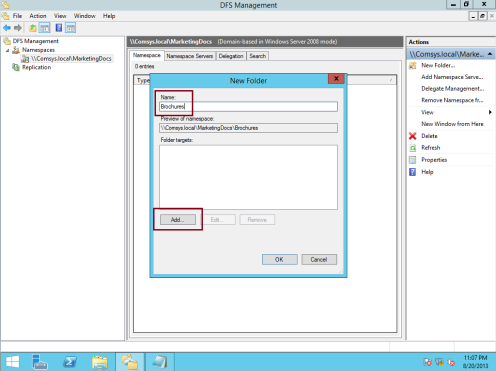
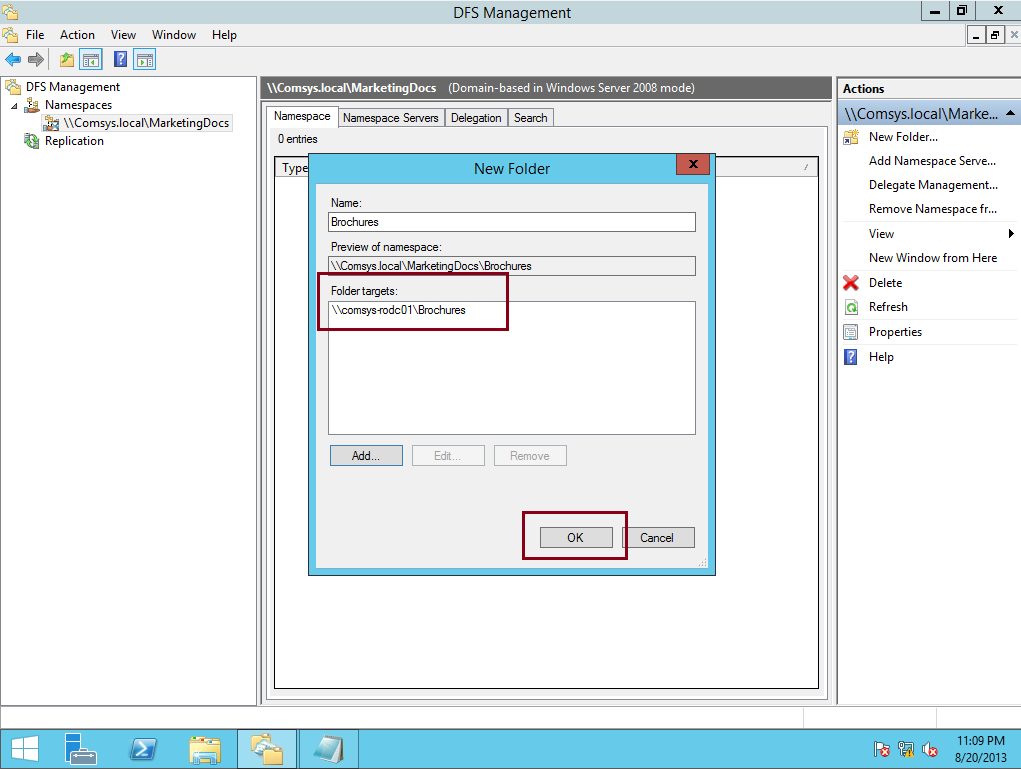
21 – In the New Folder box, under Name, type Brochures then click Add…
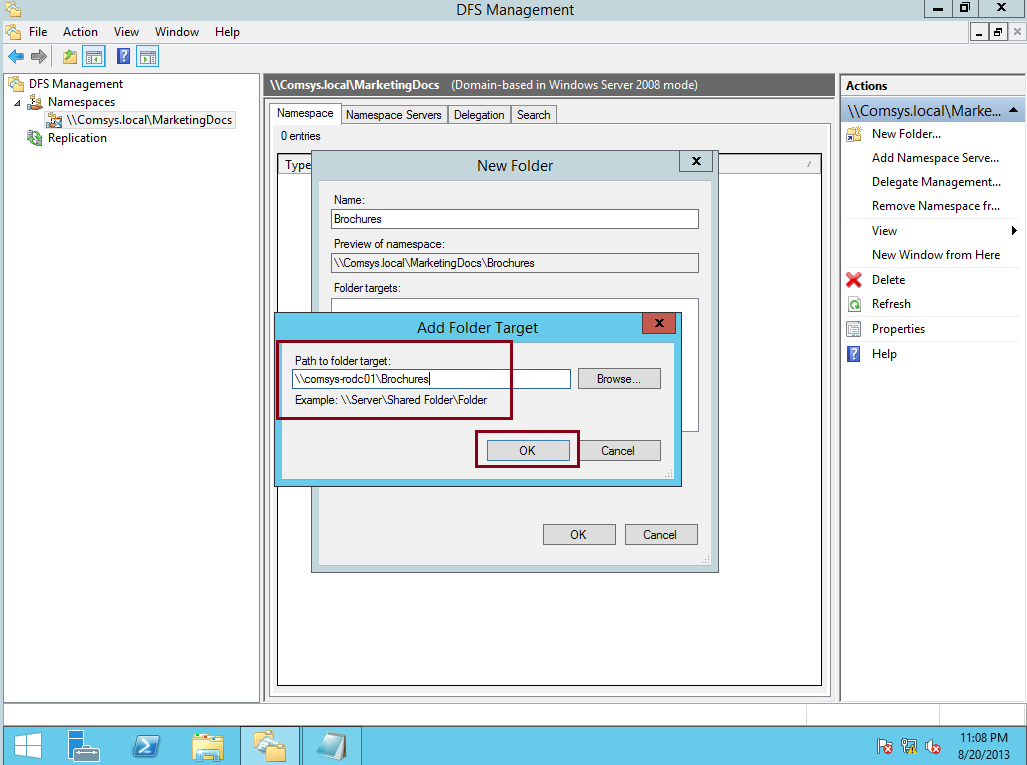
22 – In the Add Folder Target dialog box, type \\comsys-rodc01\Brochures, and then click OK…
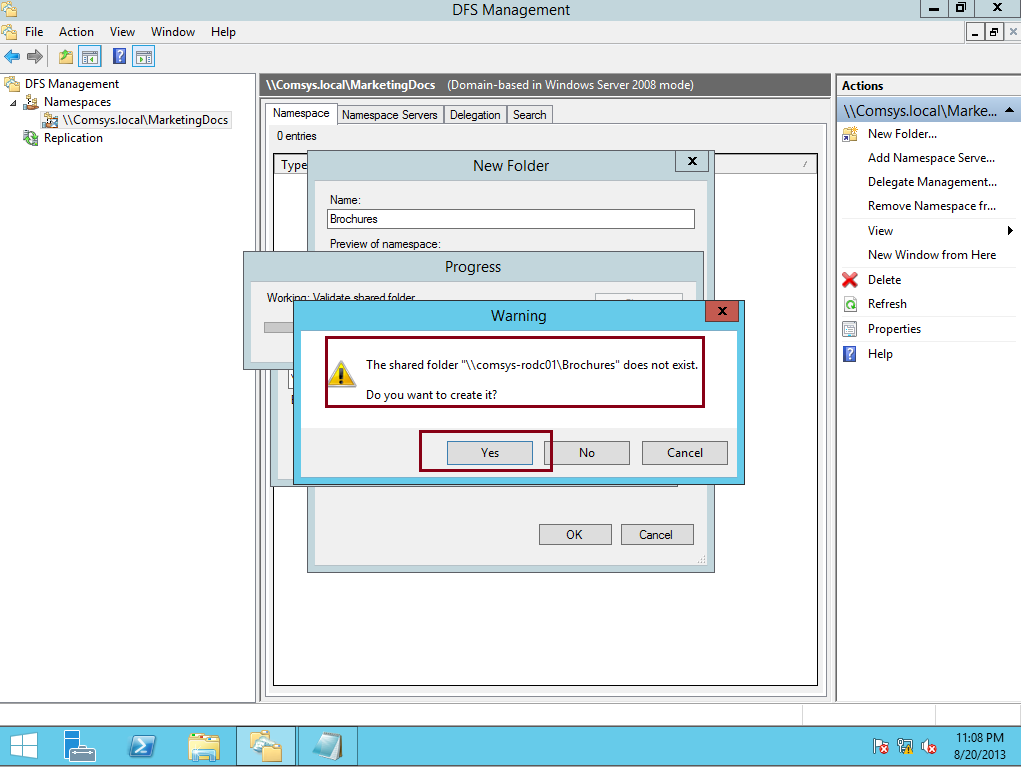
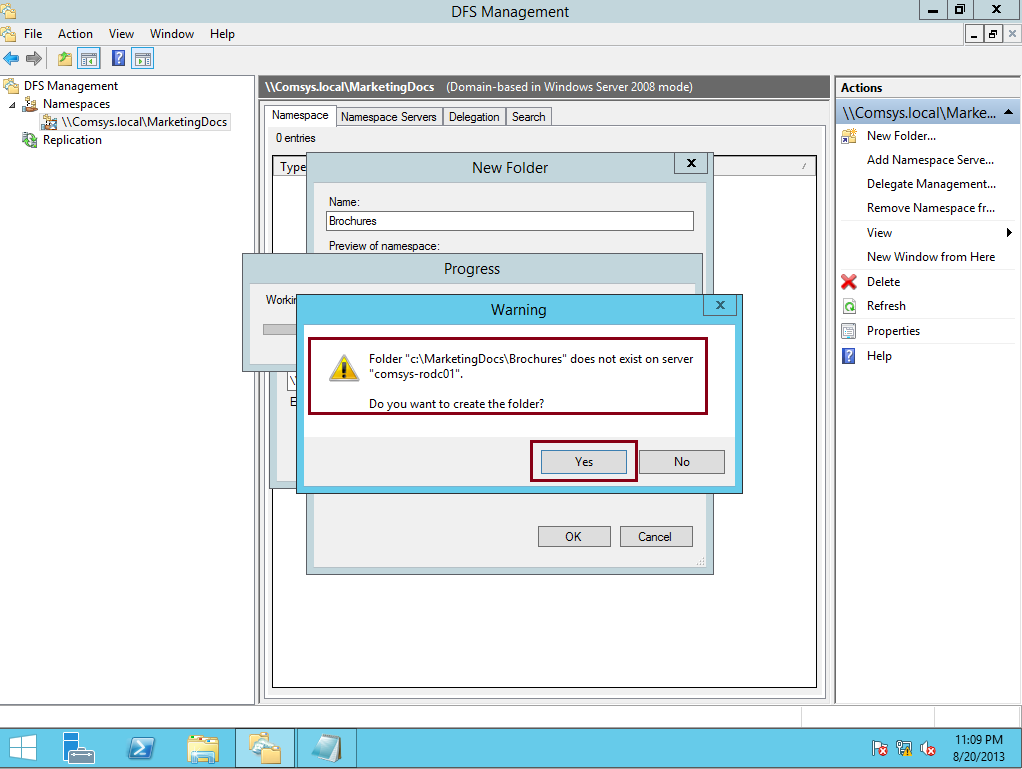
23 – In the Warning box, click Yes…
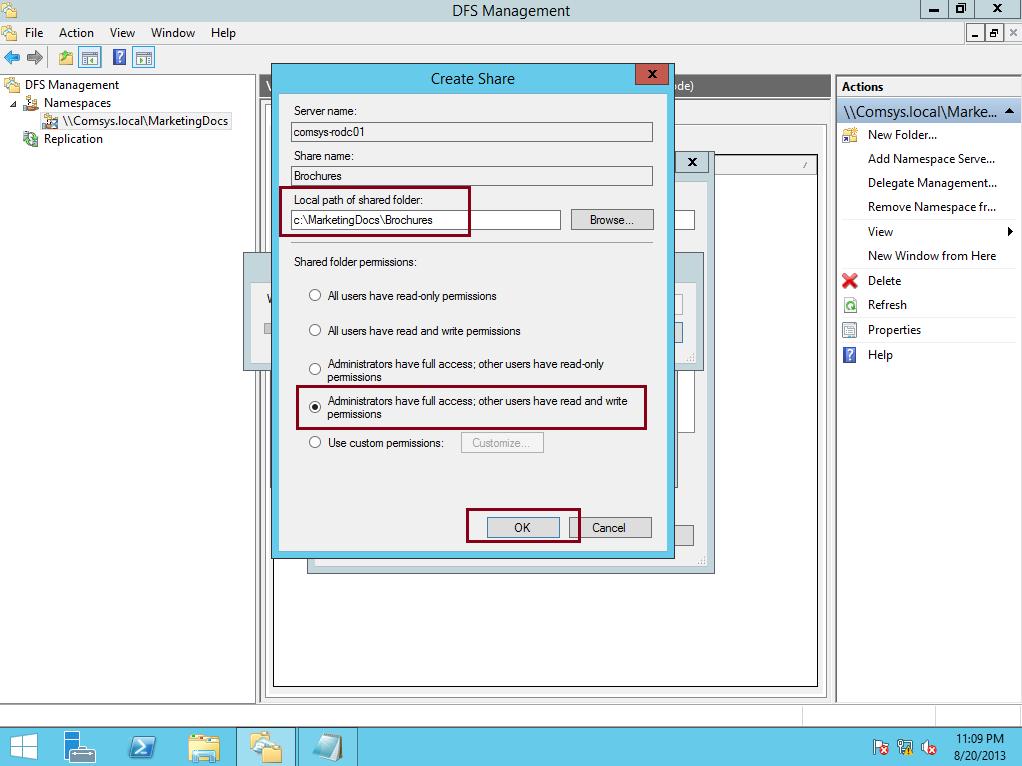
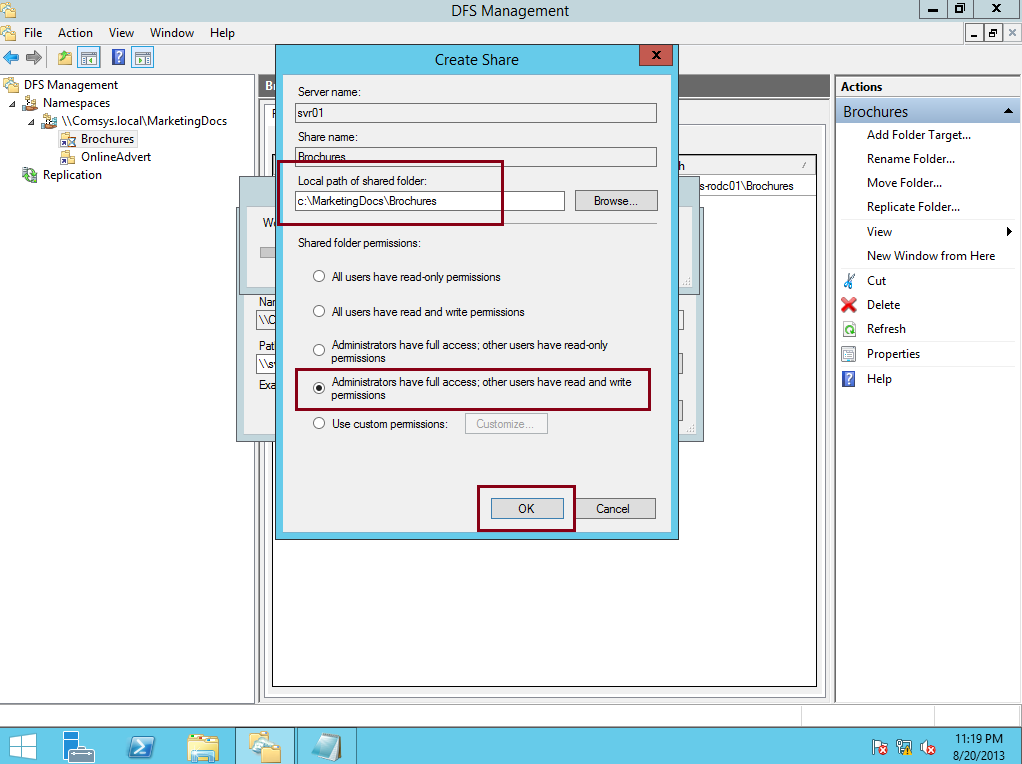
24 – In the Create Share box, in the Local path of shared folder box, type C:\MarketingDocs\Brochures, and select Administrator have full access; other users have read and write permissions, then click OK…
25 – In the Warning box, click Yes to proceed…
26 – Click OK again to close the New Folder dialog box…
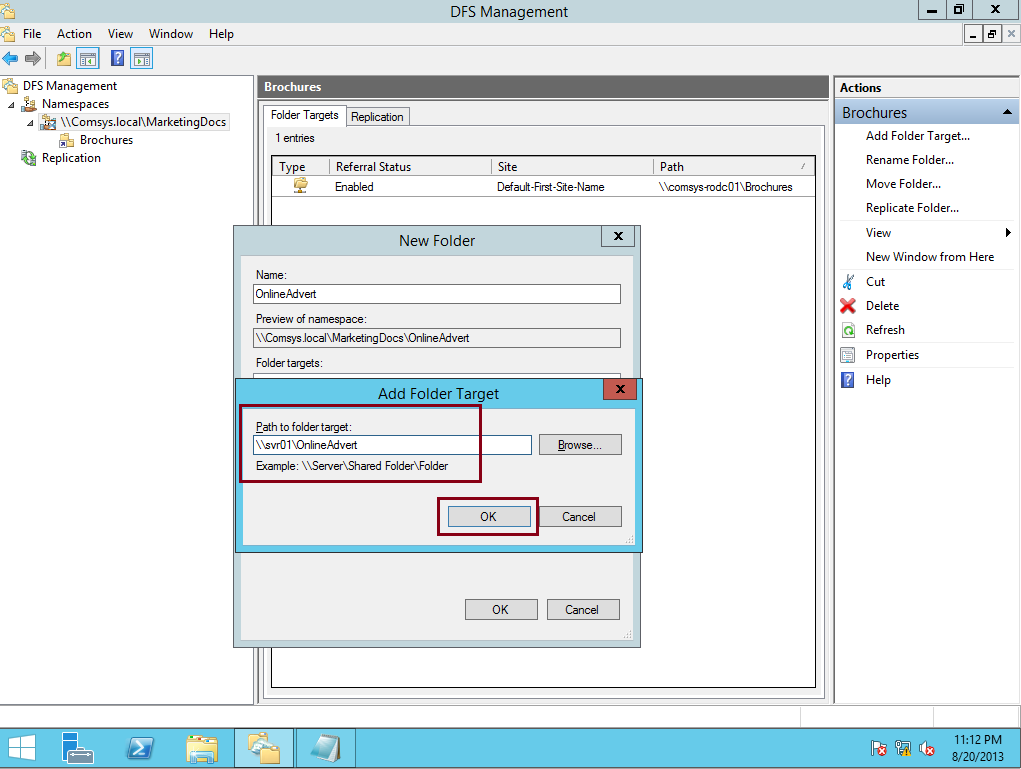
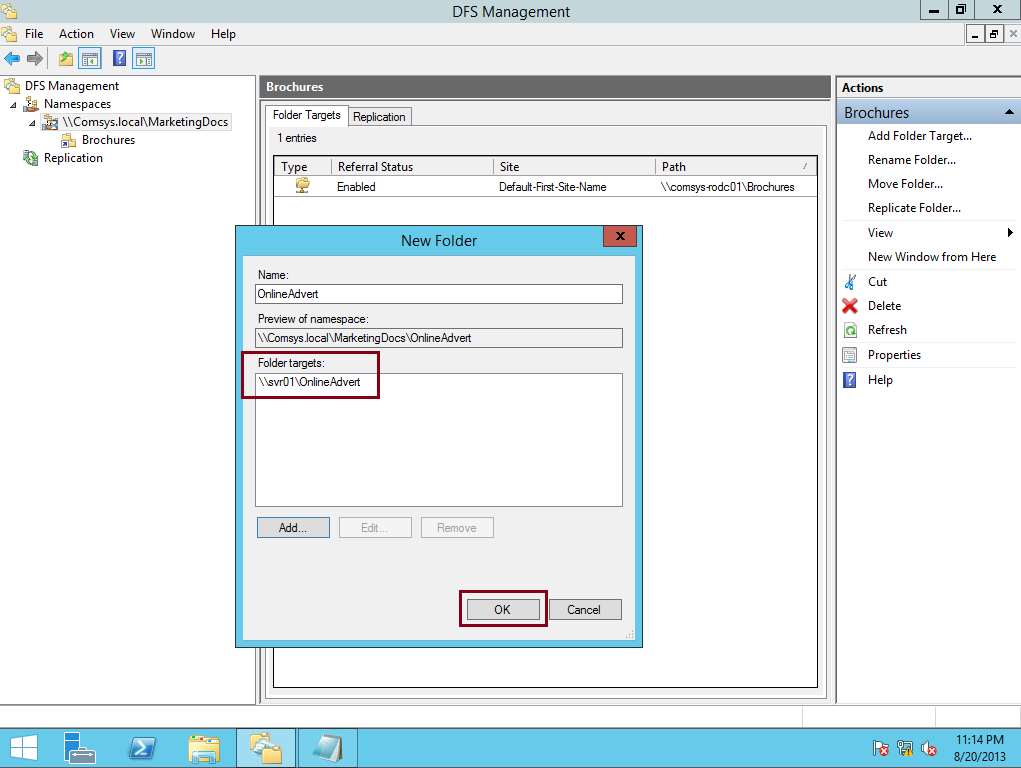
27 – Next, I want to add the OnlineAdvert folder to the MarketingDocs namespace, so to do that, right-click \\comsys.local\MarketingDocs, and click New Folder, then In the New Folder box, under Name, type OnlineAdvert, and then, click Add…

28 – In the Add Folder Target box, type \\svr01\OnlineAdvert, and then click OK…
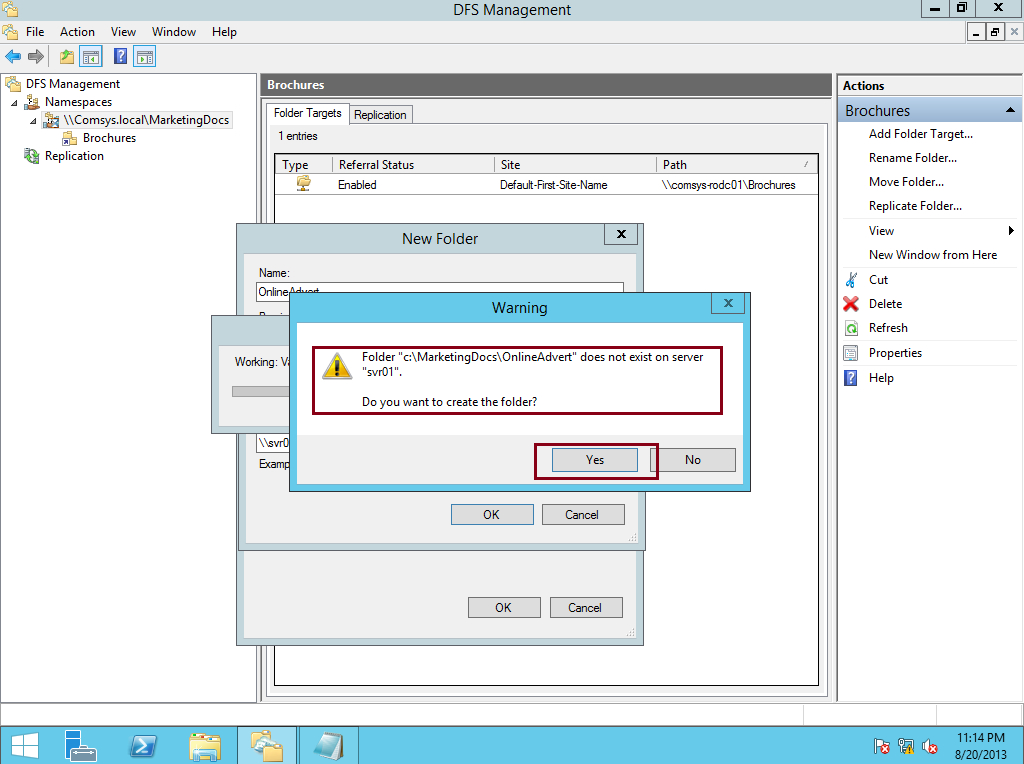
29 -In the Warning box, click Yes to create OnlineAdvert folder…

30 – Next, in the Create Share box, in the Local path of shared folder box, type C:\MarketingDocs\OnlineAdvert, make sure also you select Administrator have full access; other users have read and write permissions, then click OK…
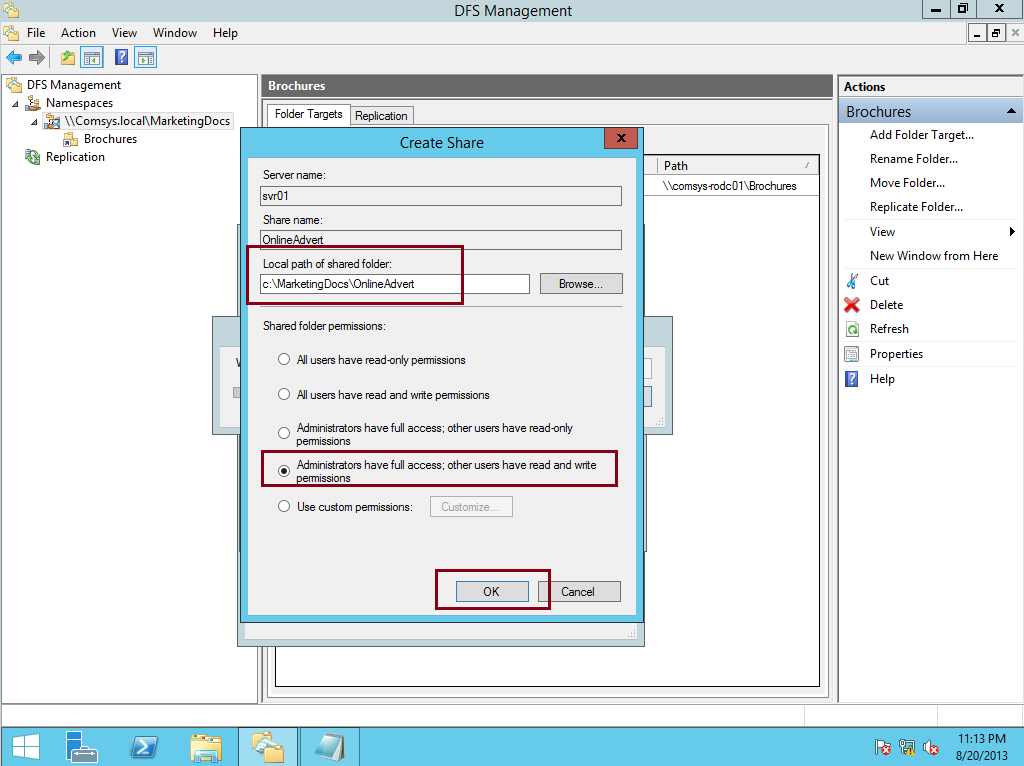
31 – In the Warning box, click Yes…
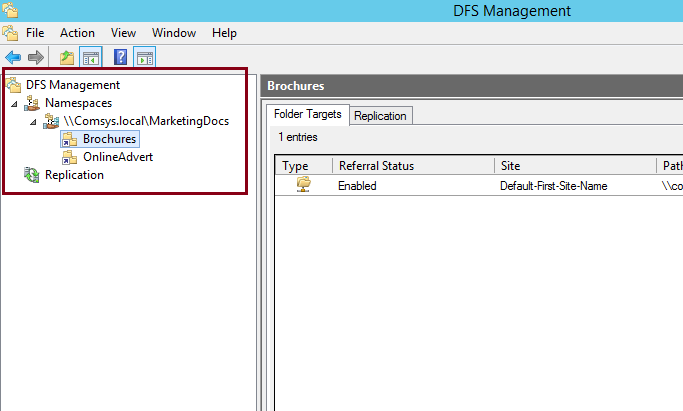
32 – Click OK again to close the New Folder dialog box (verify that \\svr0\OnlineAdvert is listed) and also Brochures and OnlineAdvert folder is listed under \\comsys.local\MarketingDocs namespaces…
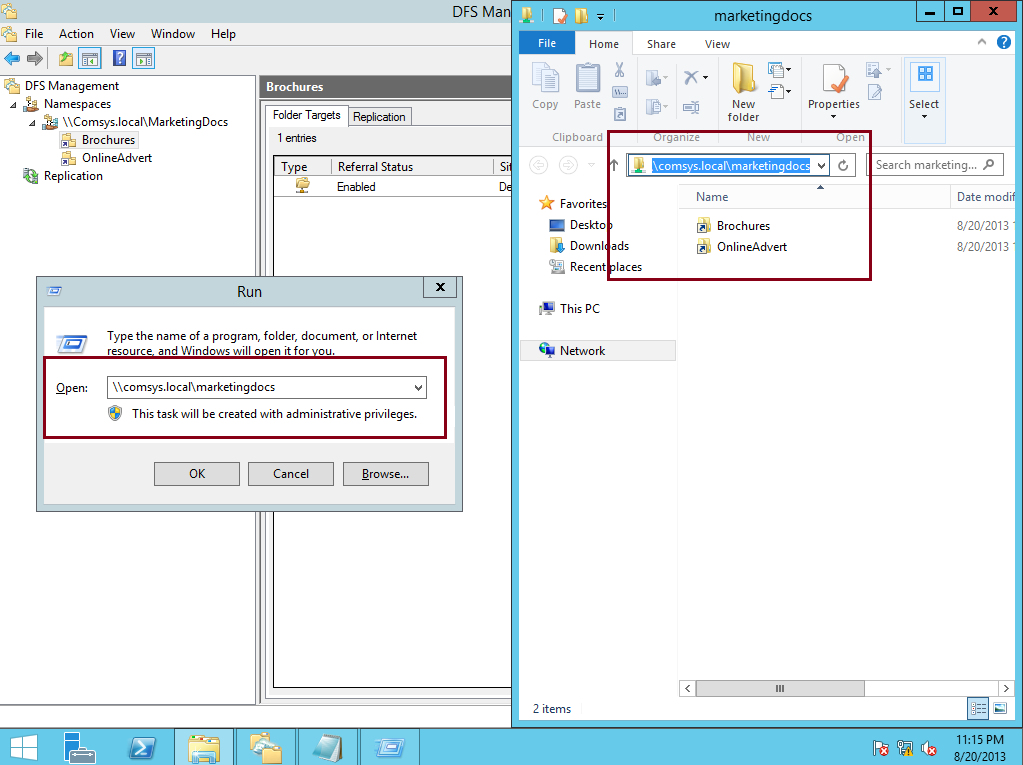
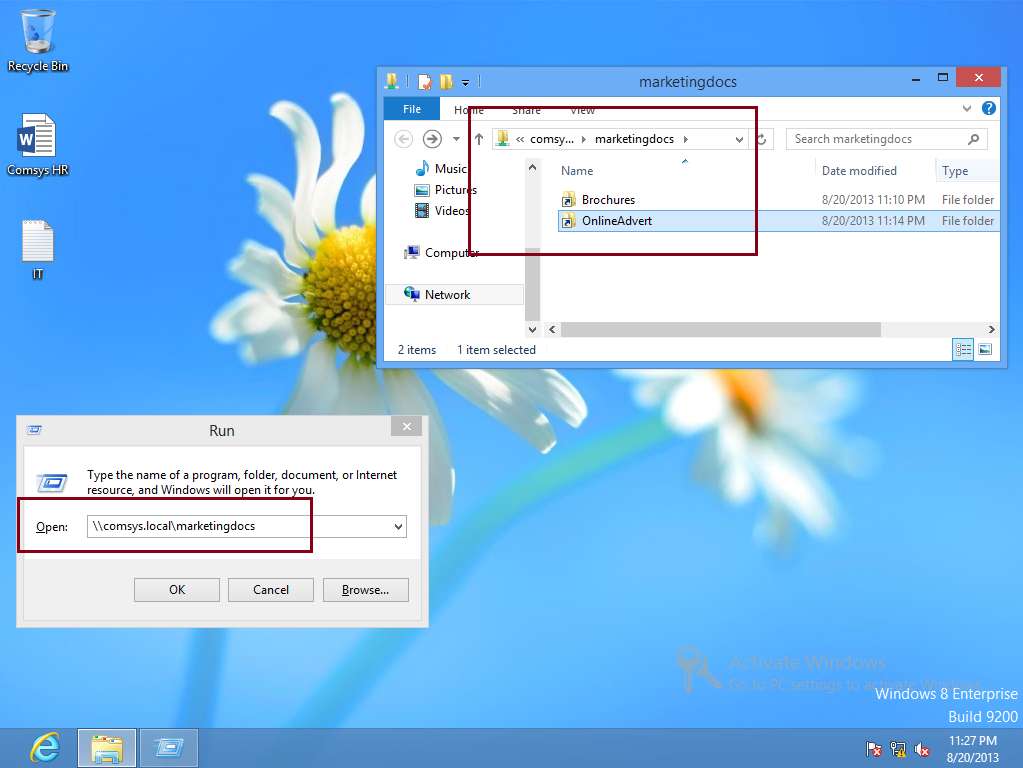
33 – Now lets verify our MarketingDocs namespace and its folder can be access using UNC, open RUN and type \\comsys.local\MarketingDocs, then in the MarketingDocs window, verify that both Brochures and OnlineAdvert is display.
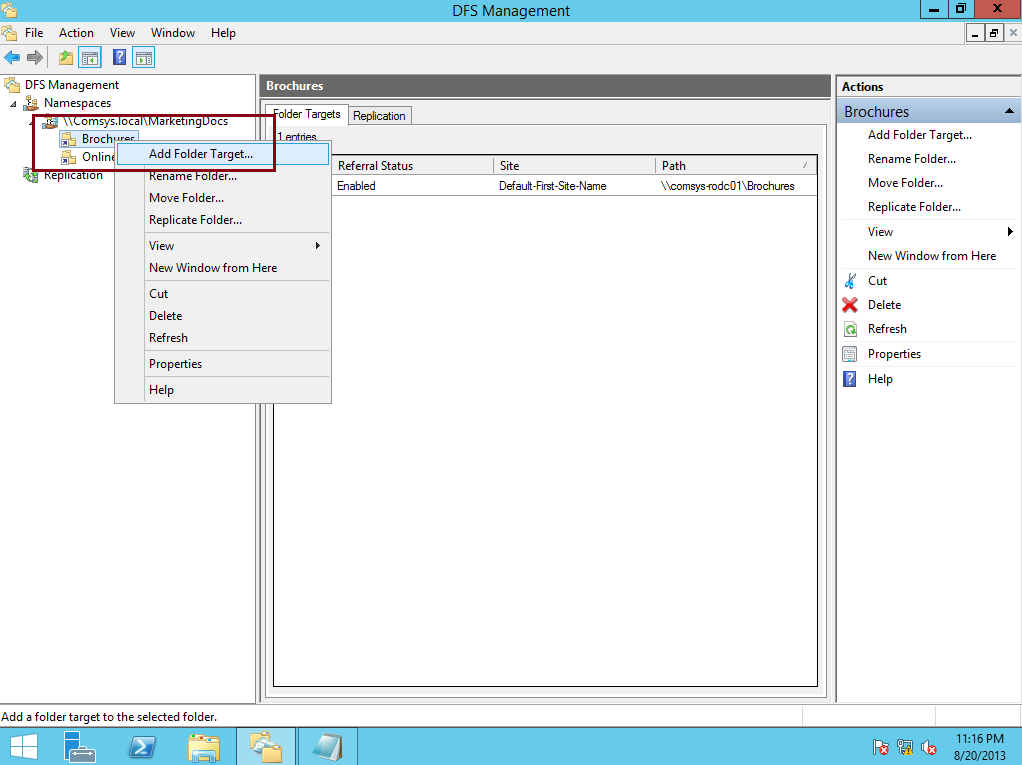
34 – Now is the the second important task which is to configure DFS replication (DFS-R), but before that, why don’t we to create another folder target for Brochures…
Right-click Brochures, and then click Add Folder Target…
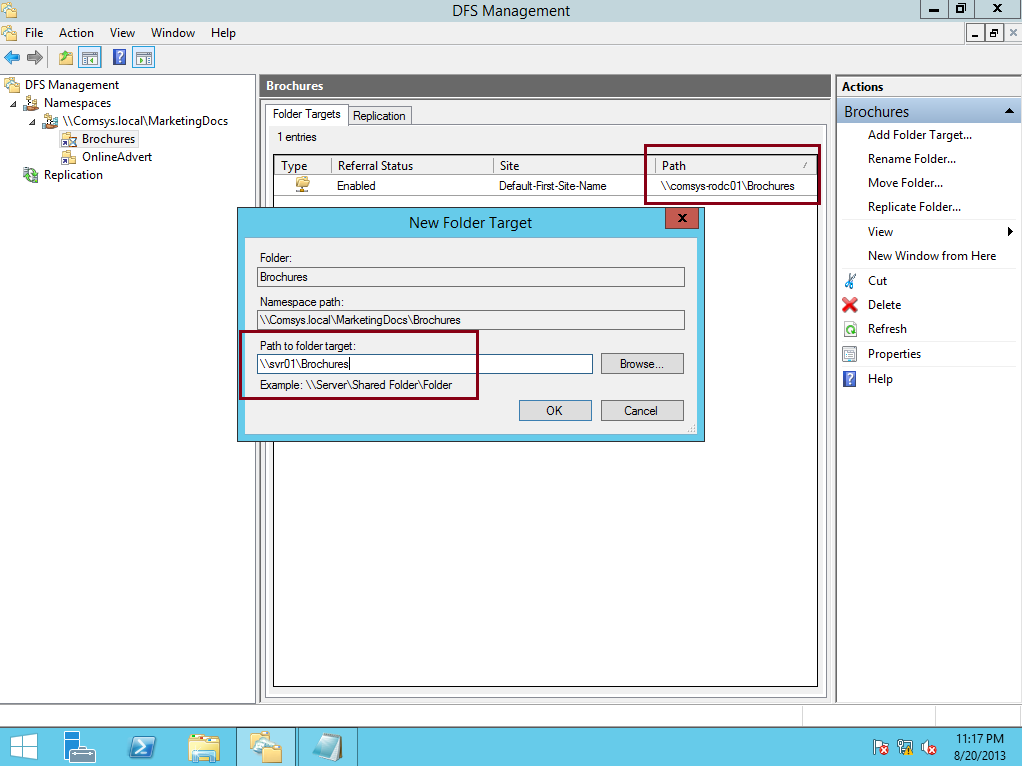
35 – In the New Folder Target box, under Path to folder target, type \\svr01\Brochures, and then click OK…
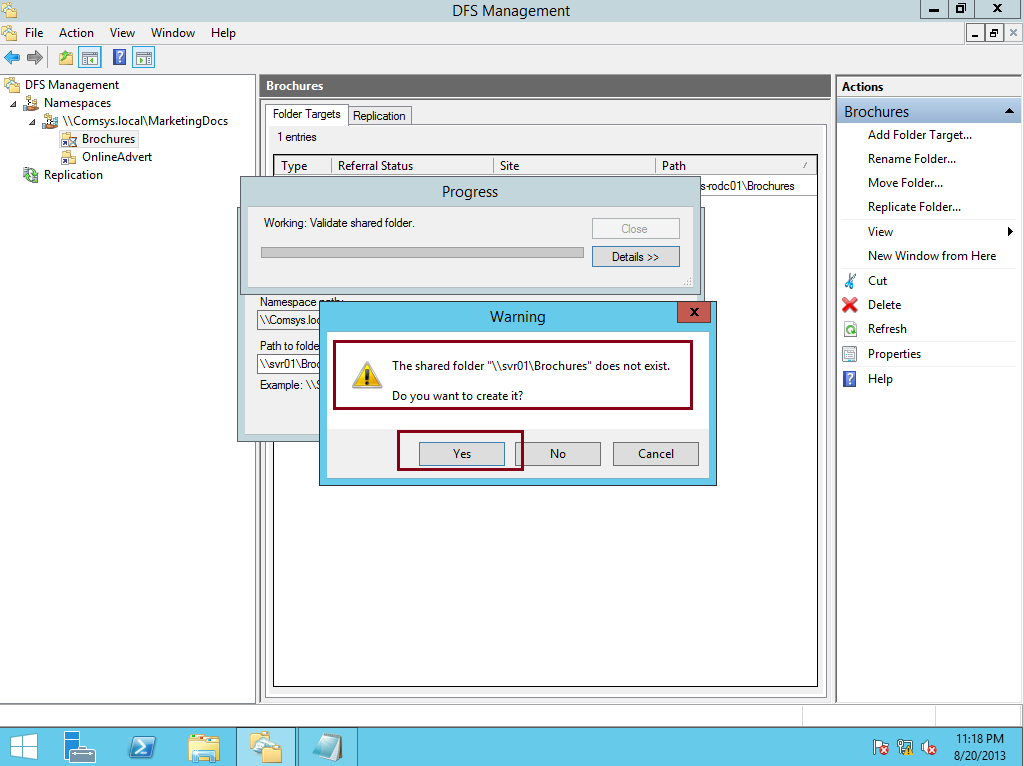
36 – In the Warning box, click Yes to create the shared folder on svr01 server…
37 – Next, in the Create Share box, under Local path of shared folder, type C:\MarketingDocs\Brochures, don’t forget to select Administrator have full access; other users have read and write permissions, then click OK…
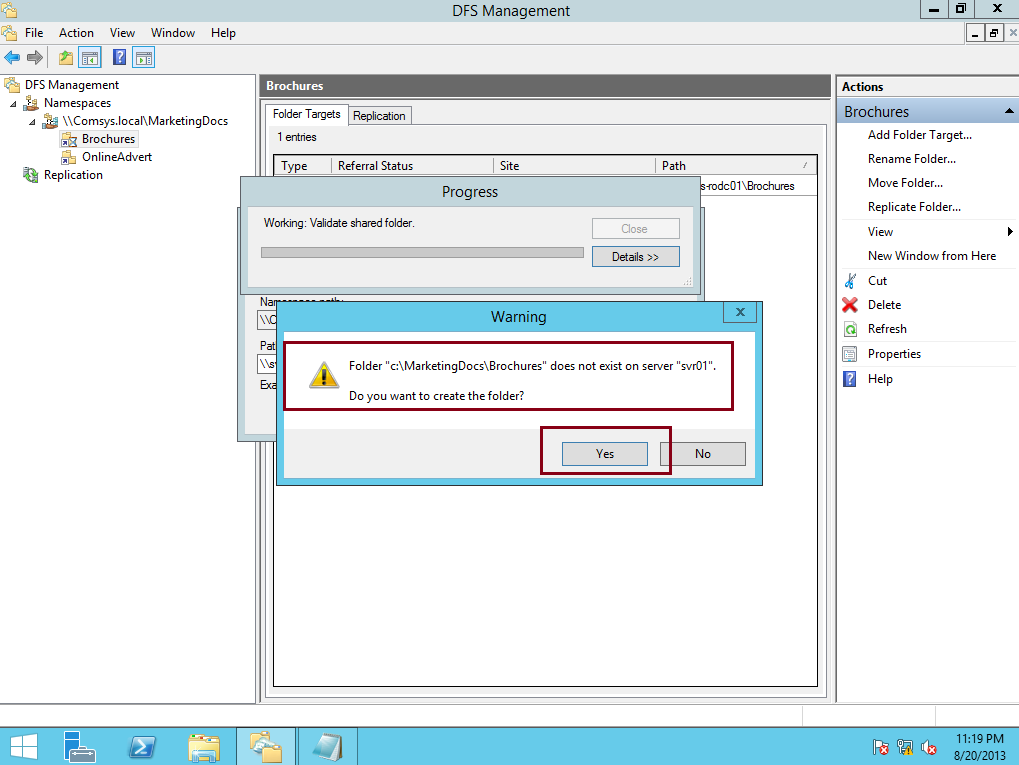
38 – In the Warning box, click Yes to create the folder on svr01 server…
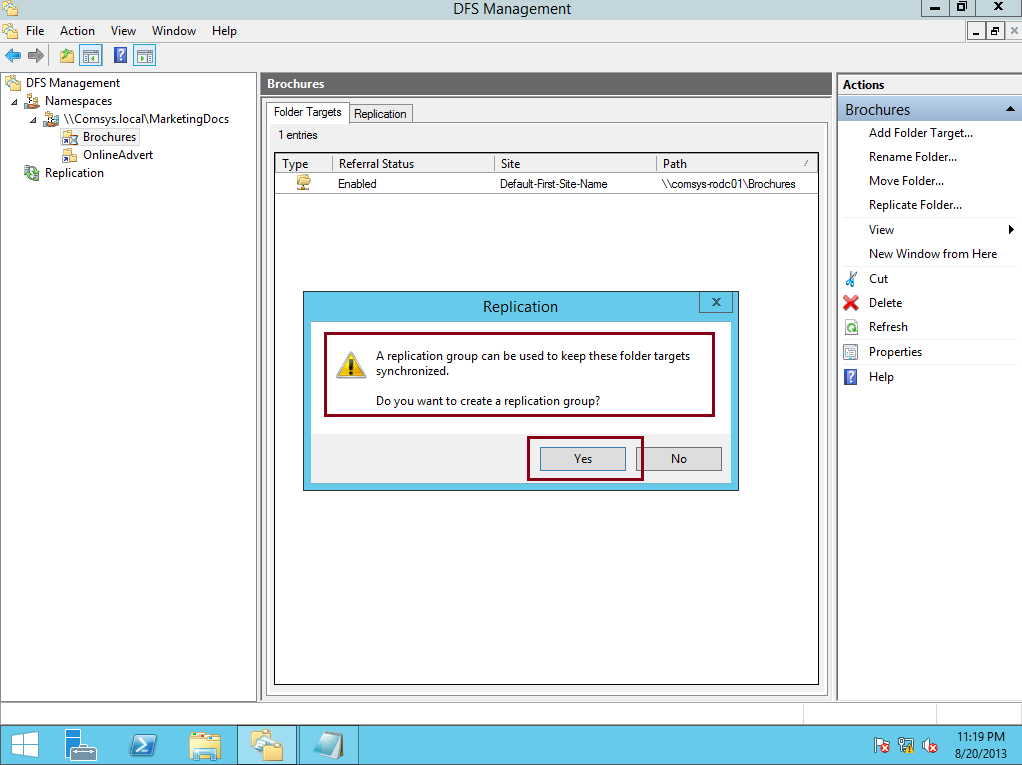
39 – In the Replication box, click Yes. The Replicate Folder Wizard starts…
40 – Next, in the Replicate Folder Wizard, on both the Replication Group and Replicated Folder Name page, accept the default settings, and then click Next…

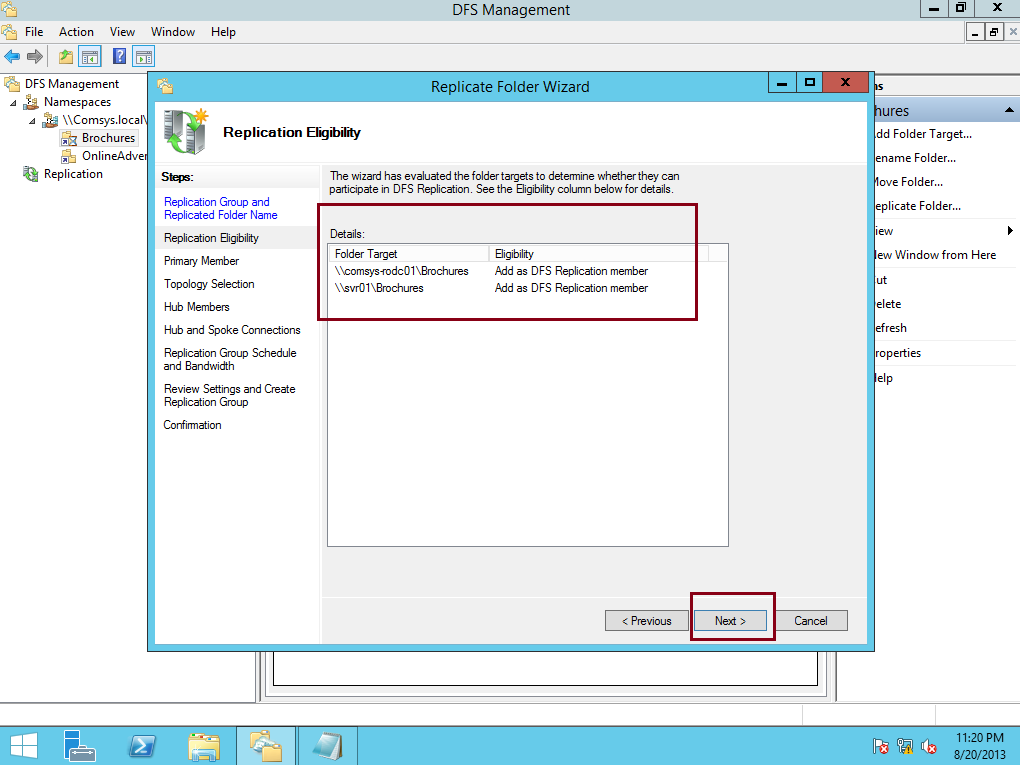
41 – On the Replication Eligibility page, click Next…
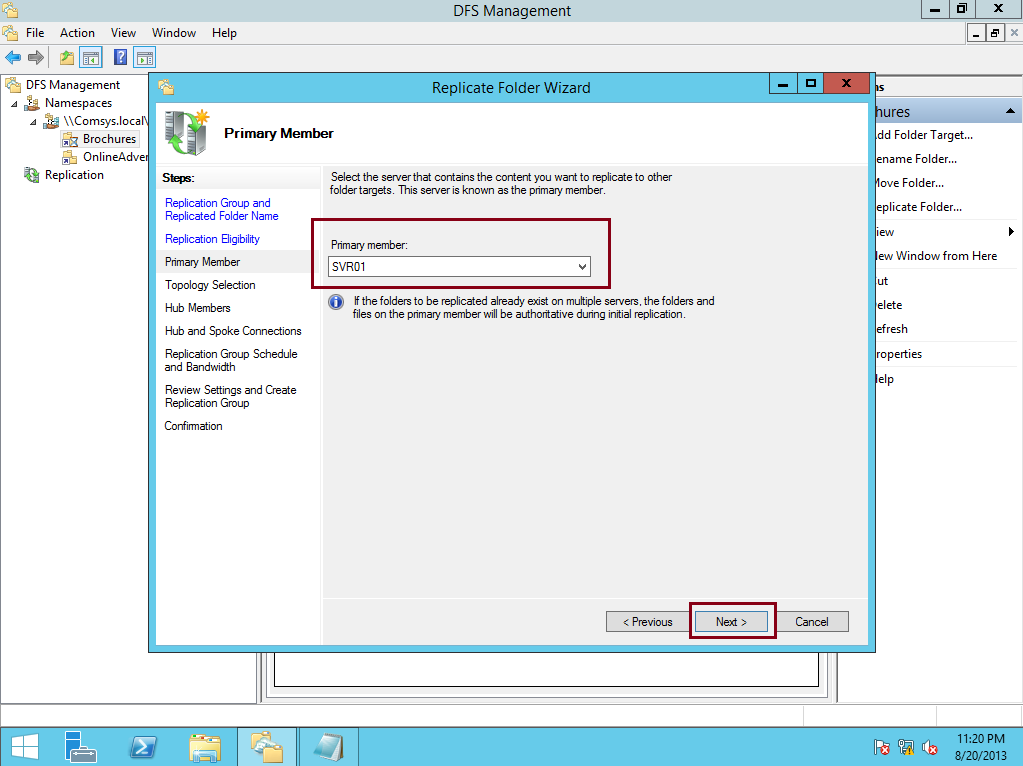
42 – On the Primary Member box, I choose SVR01 server to be my Primary DFS server, and then click Next…
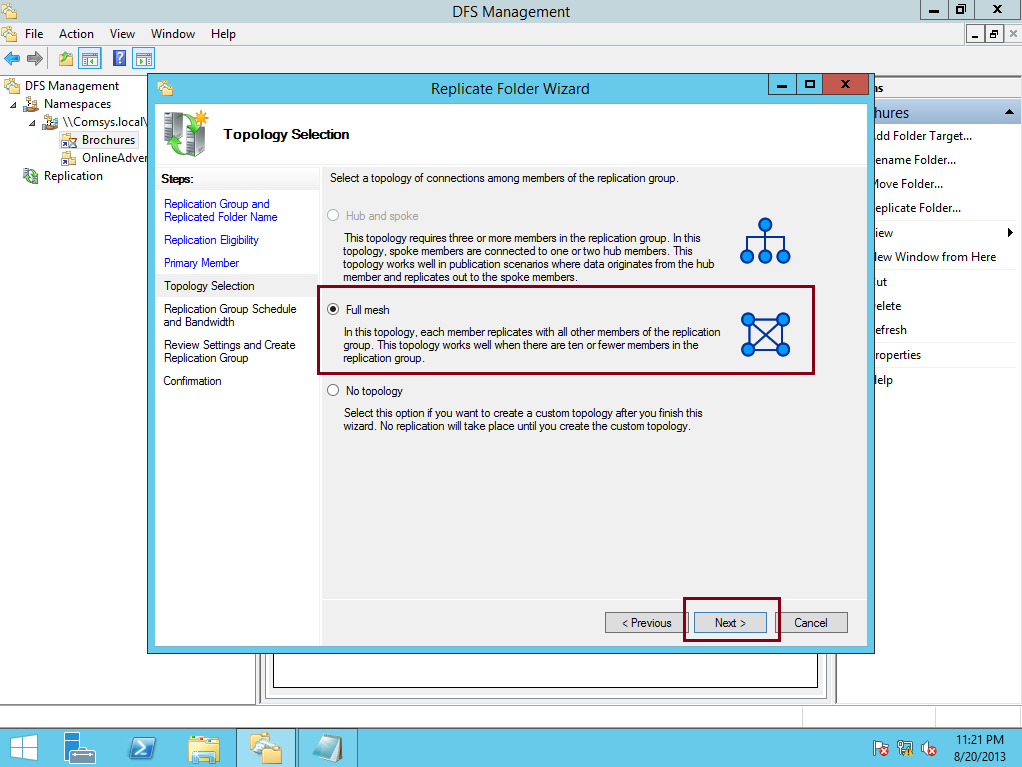
43 – On the Topology Selection box, select Full Mesh, and then click Next…
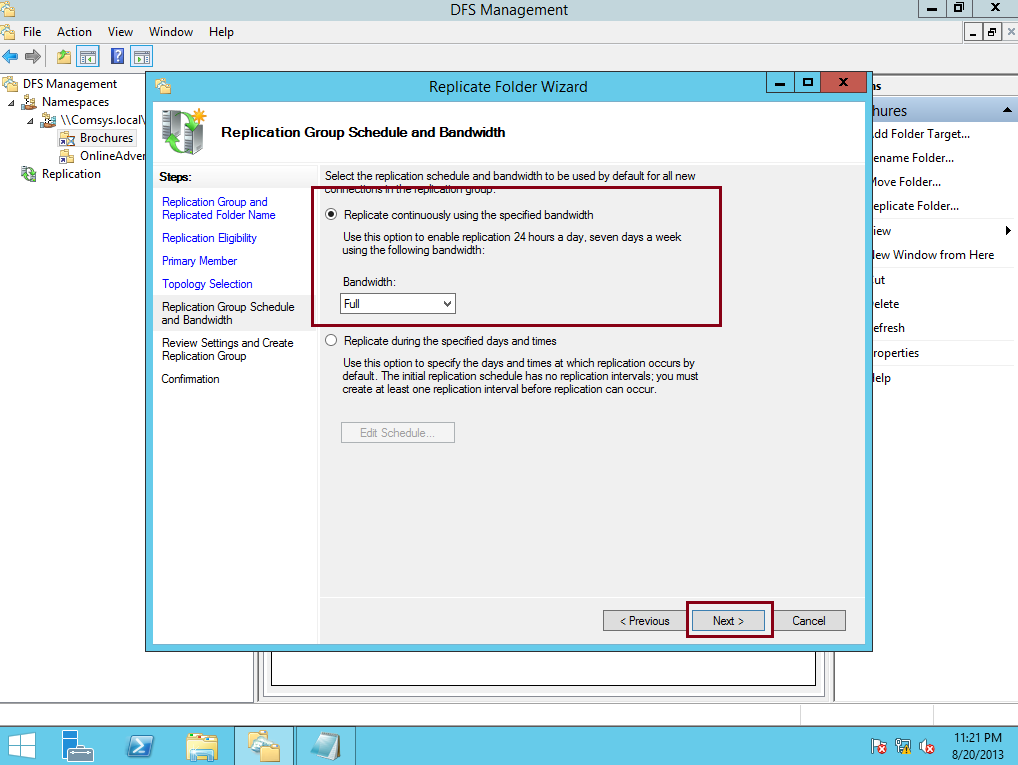
44 – On the Replication Group Schedule and Bandwidth, I choose Full and then click next…
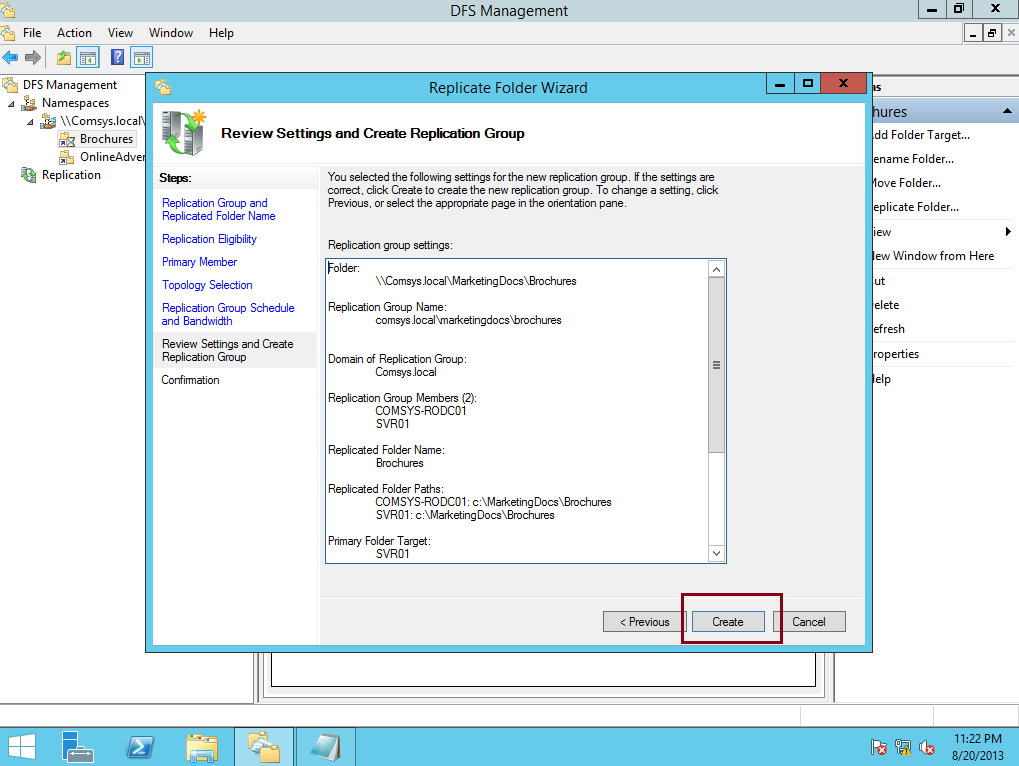
45 – On the Review Settings and Create Replication Group box, click Create…
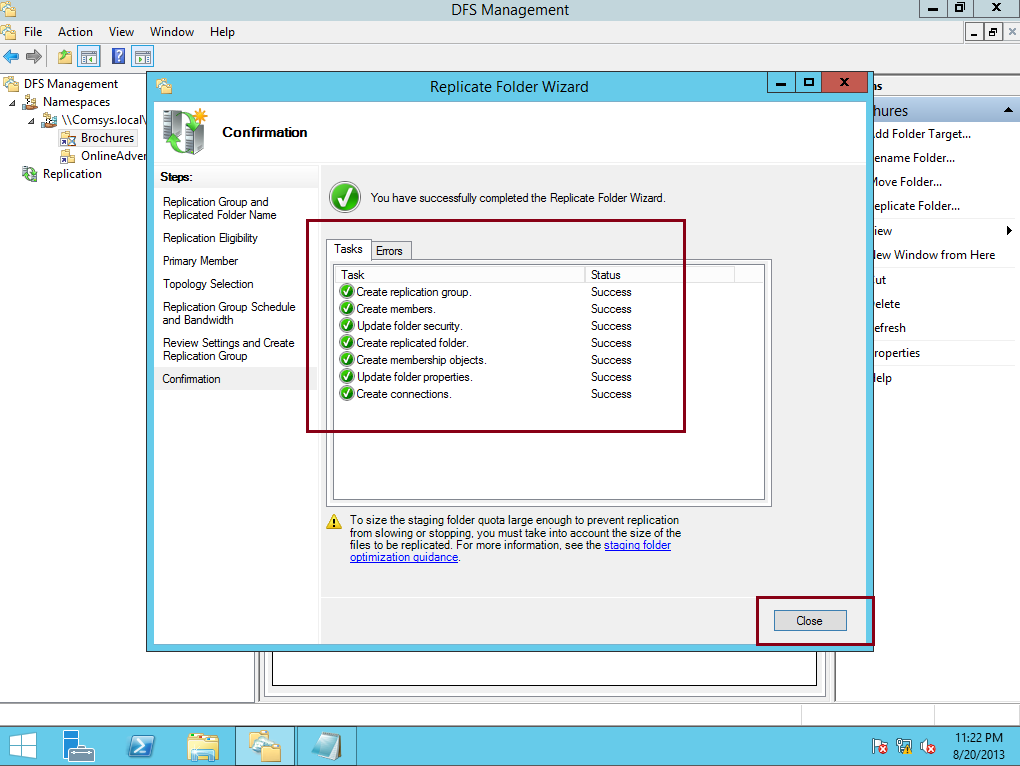
46 – On the Confirmation box, click Close (verify that all status is Success)…
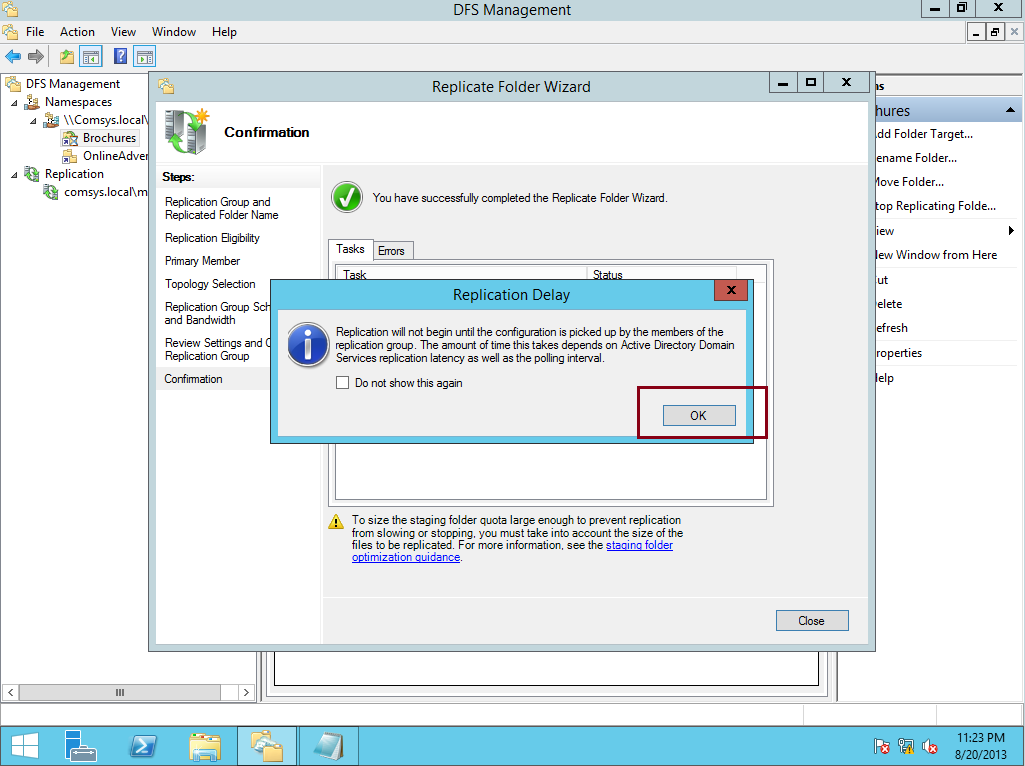
47 – In the Replication Delay box, click OK…
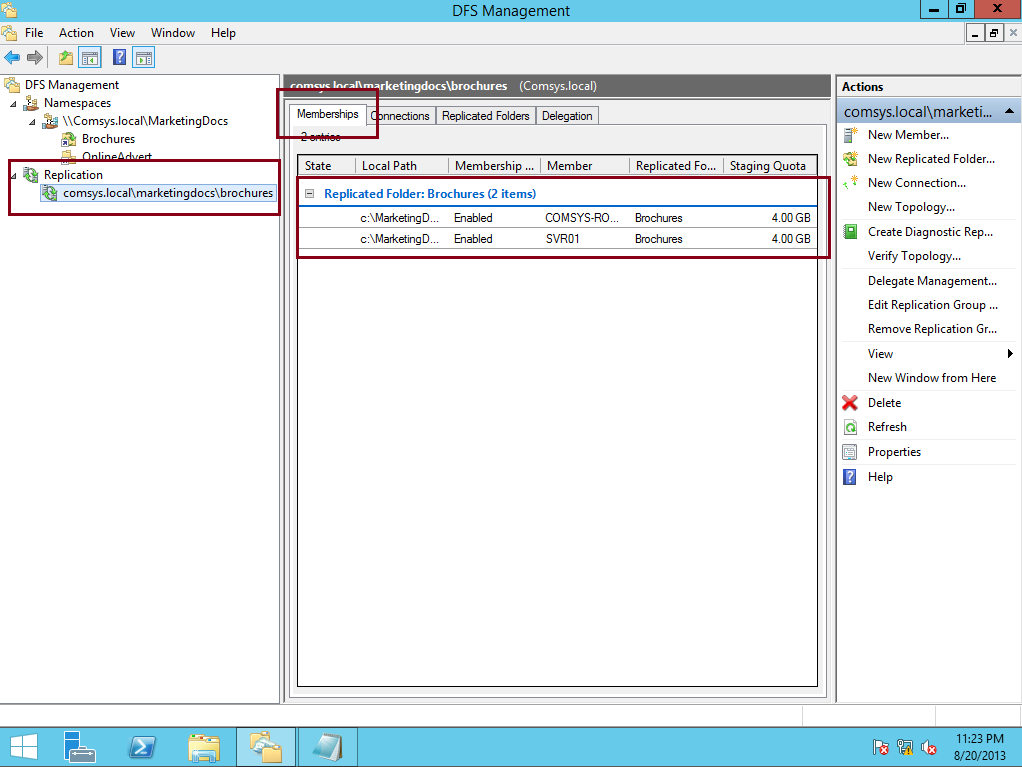
48 – Next, expand Replication, and then click comsys.local\marketingdocs\brochures, on the right pane, under Memberships tab, verify that both comsys-rodc01 and svr01 server is listed….
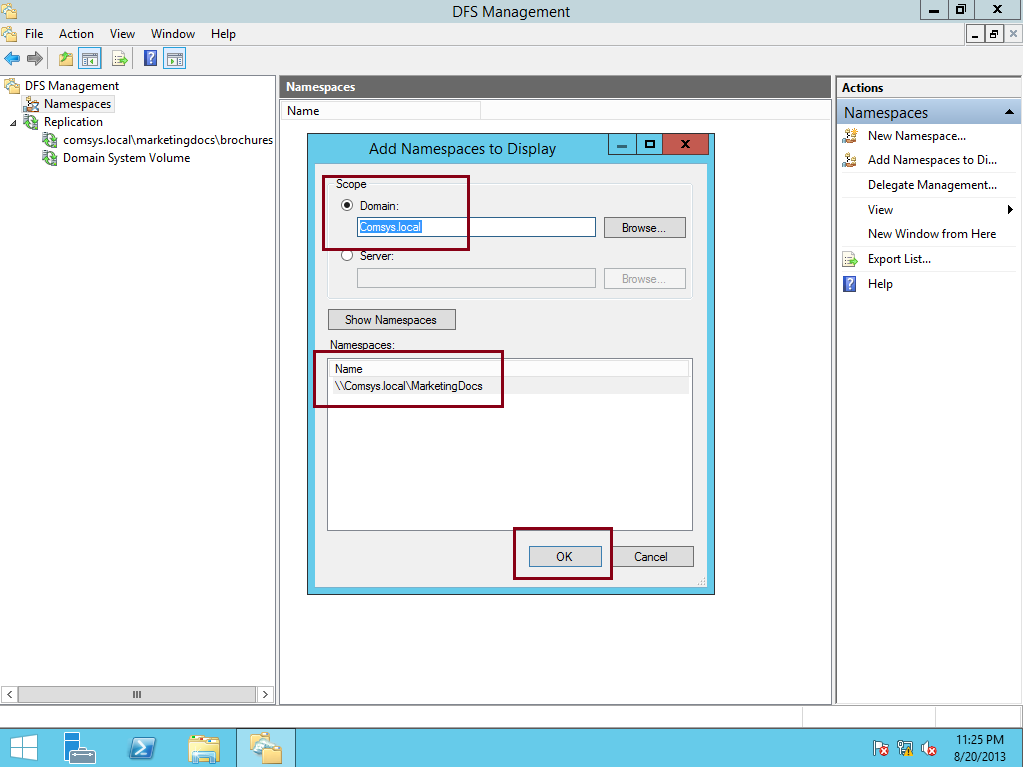
49 – To make sure all replication process is running without any issue and also to verify that our second server which is COMSYS-RODC01 server is having same function on DFS, log on into COMSYS-RODC01 server, open DFS and right click namespace and click Add Namespace to Display…

50 – In the Add Namespace to Display box, verify that domain is Comsys.local and under Namespace:, \\Comsys.local\MarketingDocs is listed and then click OK…
51 – Next, in the DFS console on the Comsys-RODC01 server, you should see that both Brochures and OnlineAdvert folder is listed…

52 – Lastly, log on into your client PC as any domain users, open RUN and type \\Comsys.local\MarketingDocs and press enter, and you should notice that marketingdocs folder is pop up with Brochures and OnlineAdvert folder is inside…
We done for now, as at this configuration, you now can start using DFS, but we still have few thing to verify especially on the High Availability.